by
by In today’s world, accessing files on the go is essential. If you’ve ever wondered how to connect a USB pendrive to your Android phone, this guide will help you do it effortlessly.
Hardware Requirements
To connect a USB pendrive to your Android phone, you’ll need:
- An Android phone with USB OTG support (most modern Android phones support this feature).
-
A USB pen drive – This could be a:
- Standard USB Type-A Pendrive (requires an OTG adapter).
- Dual-port Pendrive with USB Type-C or Micro-USB (connects directly without an adapter).
- An OTG Adapter or OTG Cable (if using a standard USB-A pendrive).
Best Buy Links
- Type C OTG Adapter: https://amzn.to/3XCaqcX
- Type C OTG Pendrive: https://amzn.to/3RrUyGd
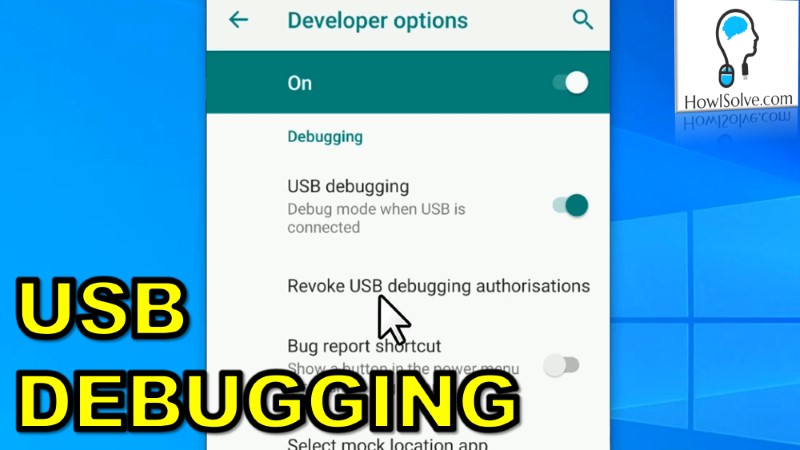
Enabling OTG on Your Android Phone
- Go to your phone’s Settings.
- Search for ‘OTG’ and enable the ‘OTG Connection’ setting. (The name may vary depending on your device).
Recommended App for File Management
Although Android’s default file manager can handle USB storage, CX File Explorer is a better option. It supports NTFS-formatted pen drives, making it more versatile.
Steps to Install & Use CX File Explorer:
- Open the Google Play Store and search for CX File Explorer.
- Download and install the app.
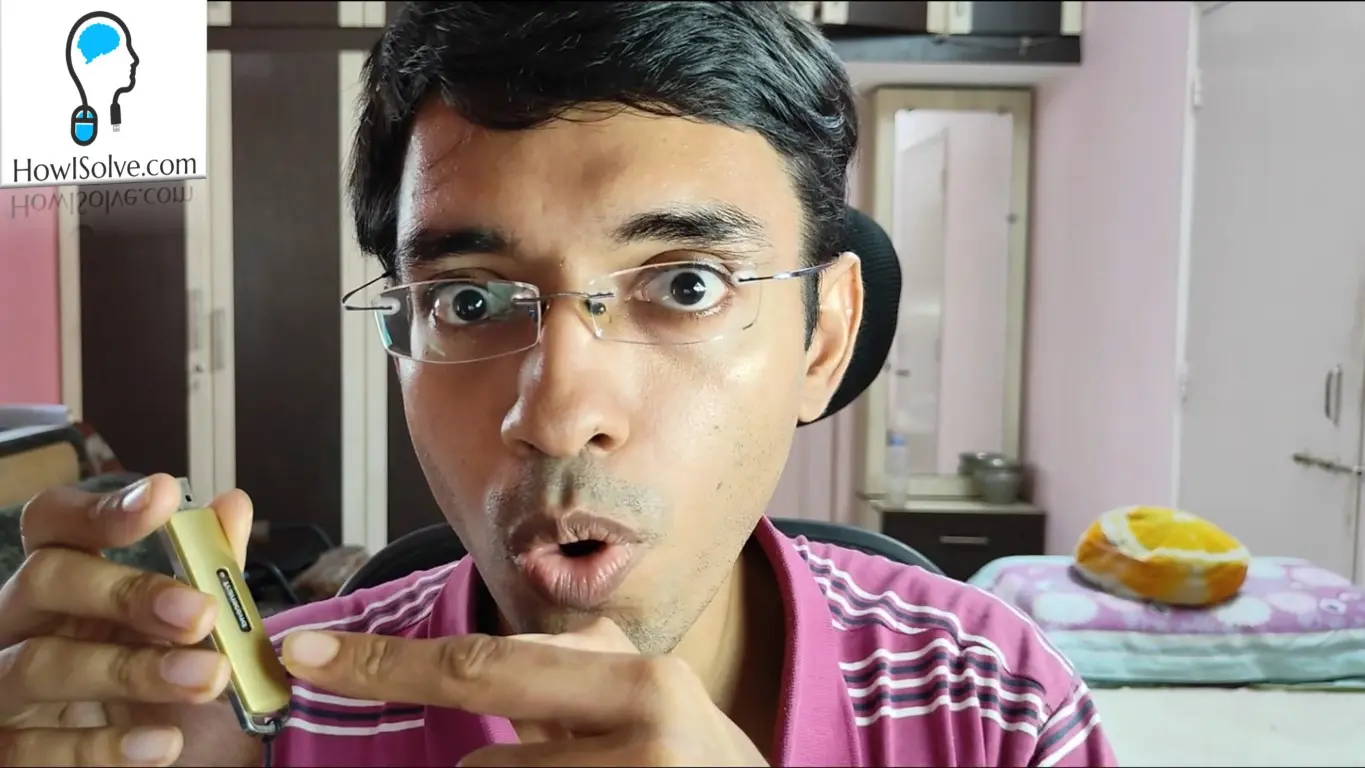
- Insert your USB pen drive into your phone.
- Open CX File Explorer → Grant access when prompted.
- Browse and manage your files easily.
Safely Removing the Pendrive
To prevent data corruption, always eject the pen drive properly:
- Pull down the notification bar and tap on “Remove USB device safely” before unplugging.
Following these steps, you can efficiently use a USB pen drive with your Android phone for file transfers and backups. 🔥
📢 Did you find this guide helpful? If yes, then don’t forget to share it with your friends and colleagues who might need it. Also, check out my YouTube channel HowISolve.com for more useful tech tutorials! 🎥
🚀 Try it out and let me know your experience in the comment on YouTube. Happy transcribing! 🚀