Hi, friends in this quick fix. I will show you how to remove the “System Requirements Not Met” Watermark. This is shown in the Windows 11 desktop and settings section. This watermark is displayed on systems that have used bypass methods to install windows 11.
▼Type @ Commands▼
reg add “HKEY_CURRENT_USER\Control Panel\UnsupportedHardwareNotificationCache” /v SV1 /t REG_DWORD /d 0 /f
reg add “HKEY_CURRENT_USER\Control Panel\UnsupportedHardwareNotificationCache” /v SV2 /t REG_DWORD /d 0 /f
▼Scan @ Video Index▼
- 00:00 Intro
- 01:47 Method 1: ADD Registry Key Using CMD
- 02:30 Method 2: ADD Registry Key Using Registry Editor
Method 1: ADD Registry Key Using CMD
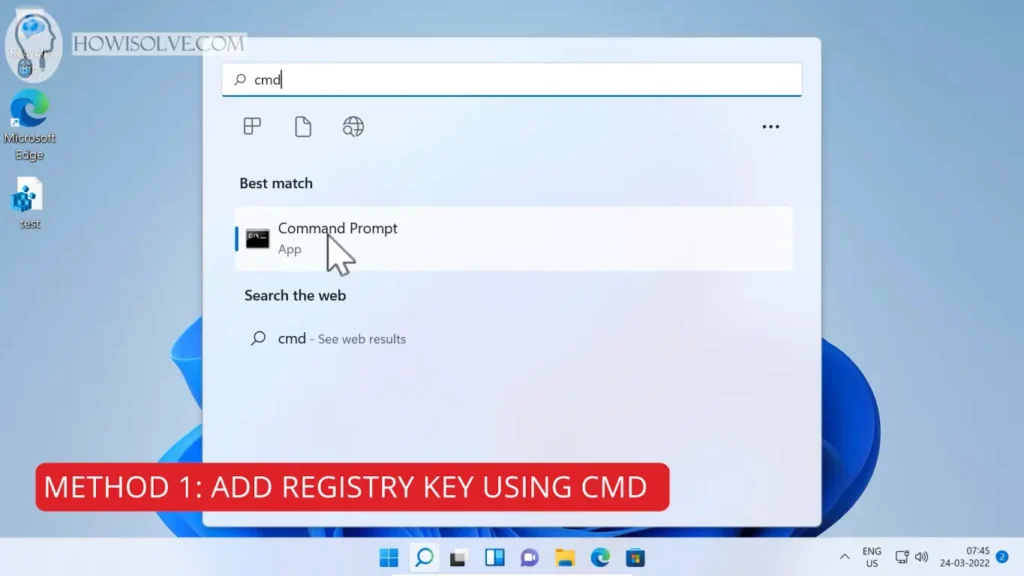
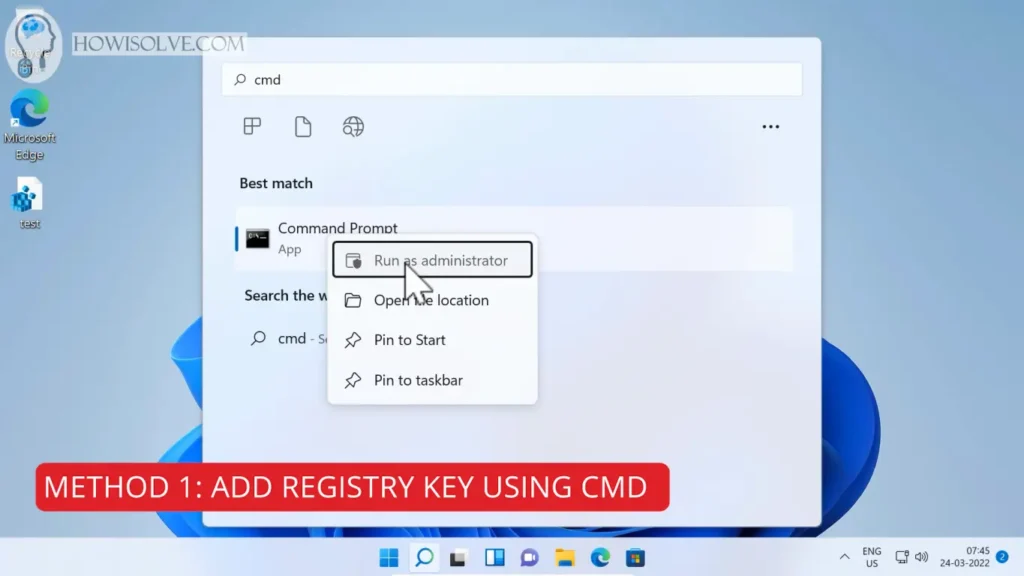
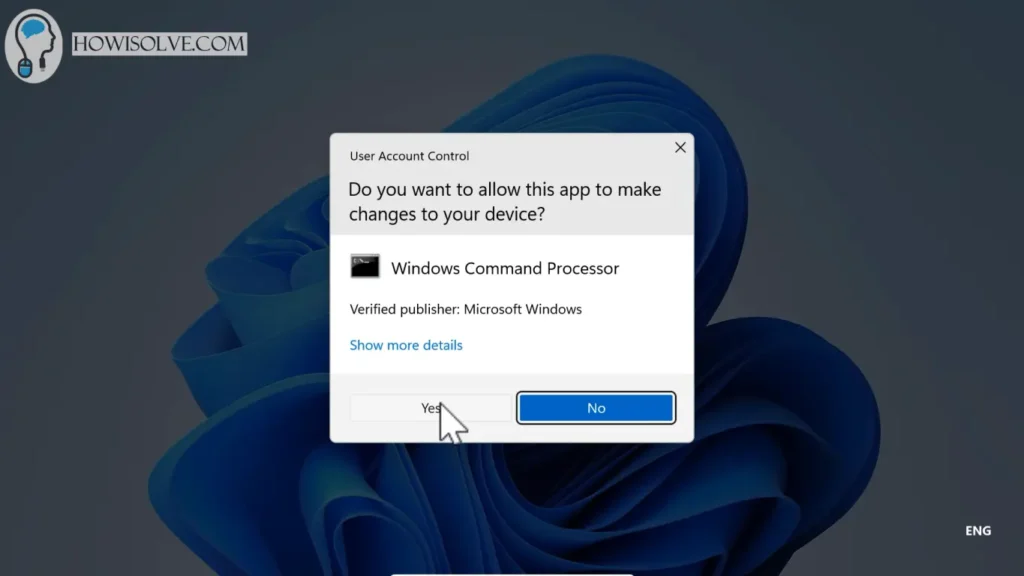
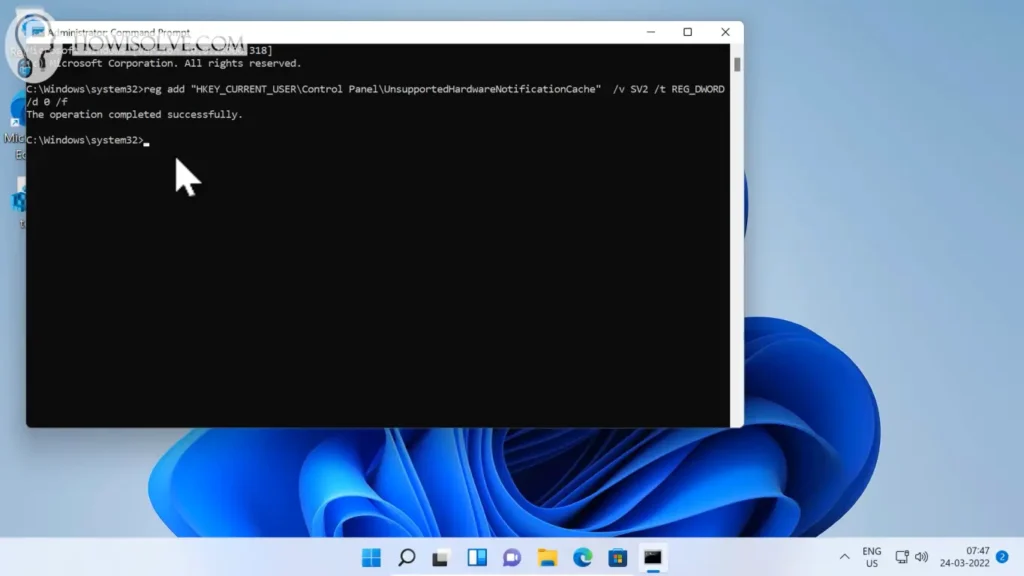
- Type the below command in an administrative command prompt and hit enter.
reg add "HKEY_CURRENT_USER\Control Panel\UnsupportedHardwareNotificationCache" /v SV1 /t REG_DWORD /d 0 /f
reg add "HKEY_CURRENT_USER\Control Panel\UnsupportedHardwareNotificationCache" /v SV2 /t REG_DWORD /d 0 /f
- Restart the computer and the watermark should disappear.
Method 2: ADD Registry Key Using Registry Editor
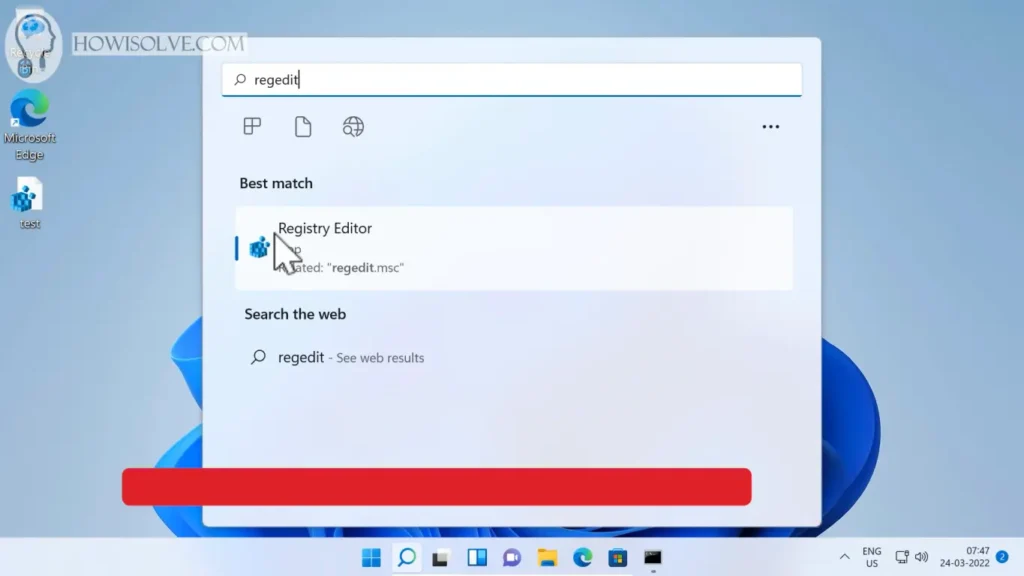
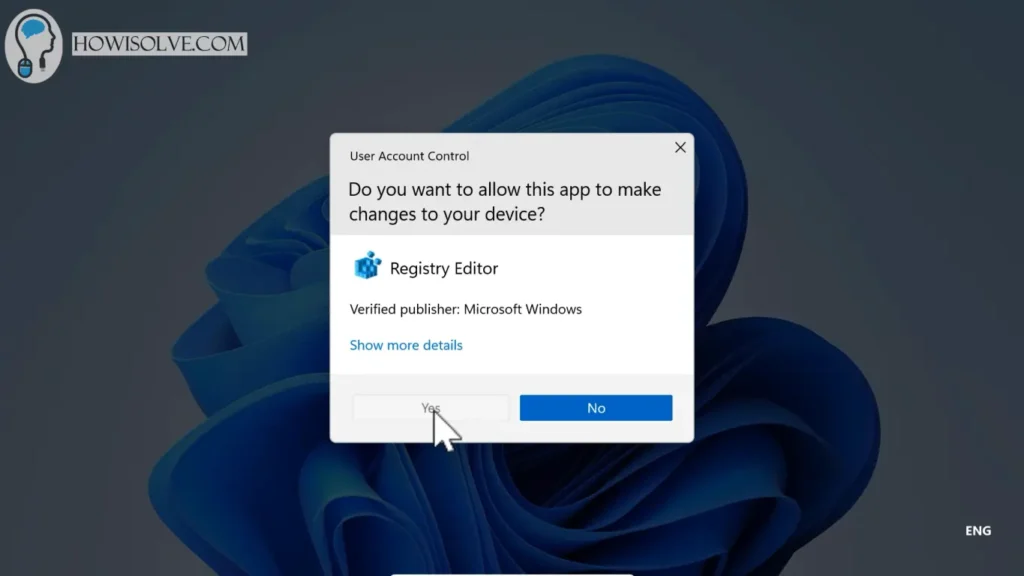
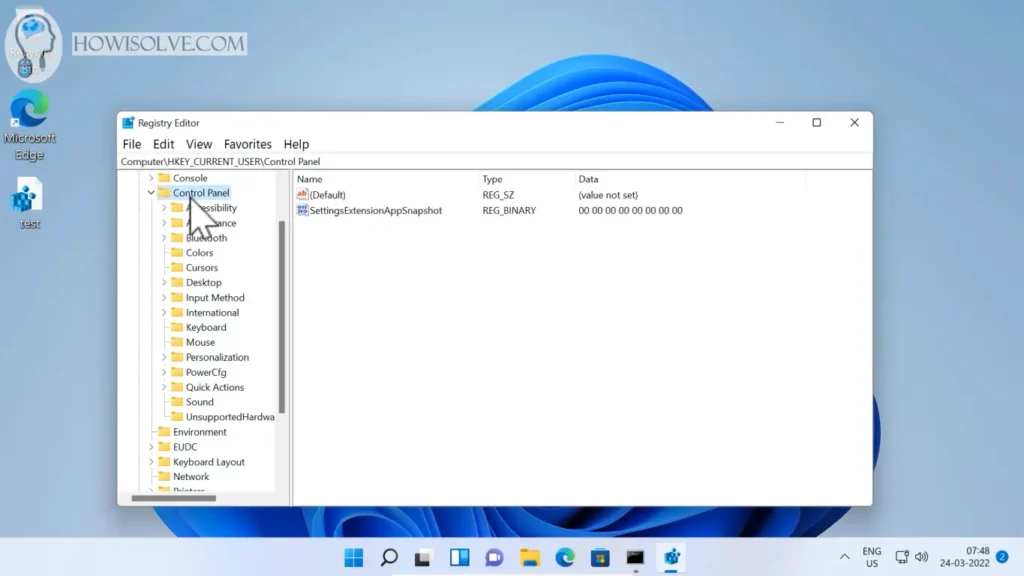
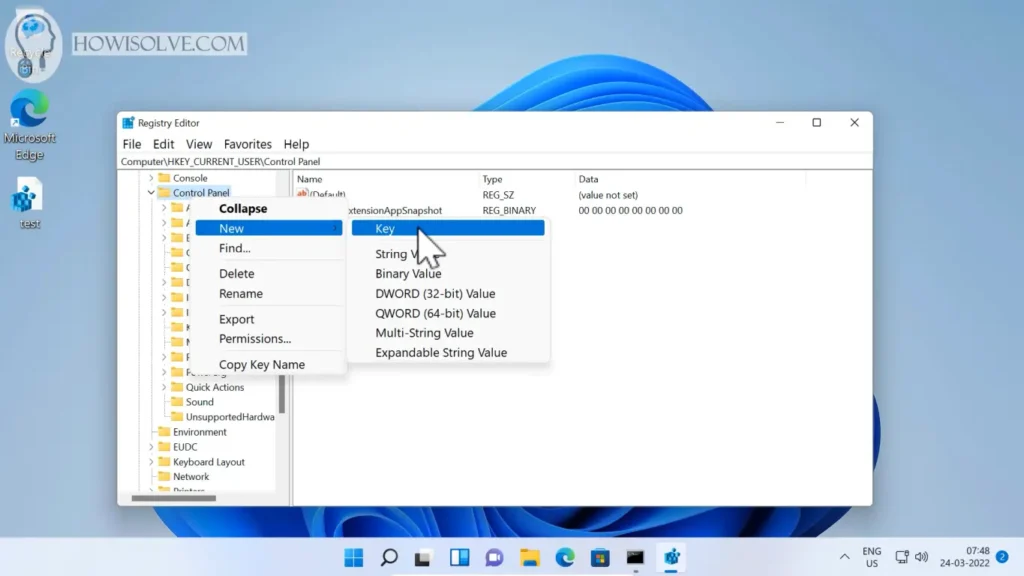
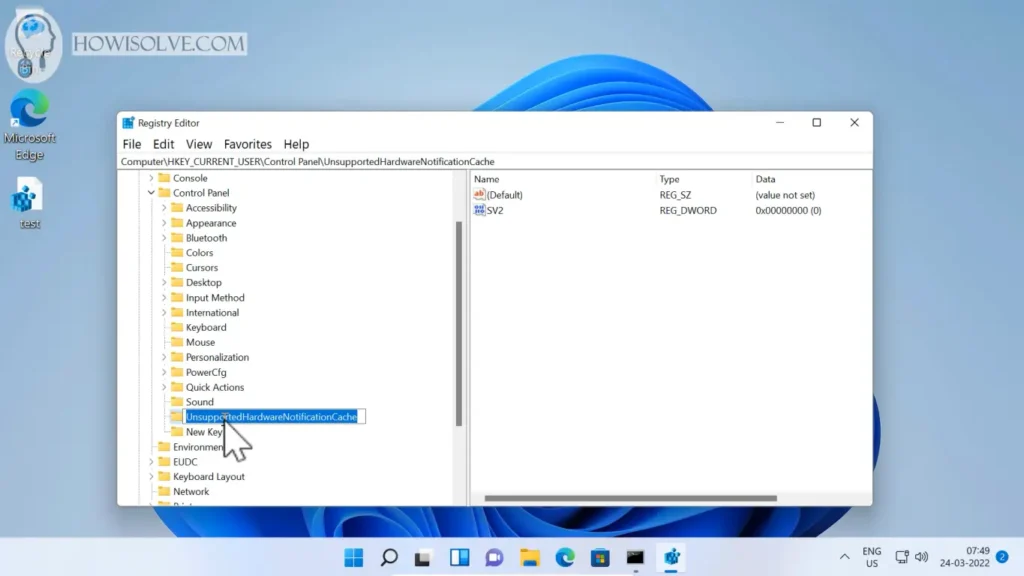
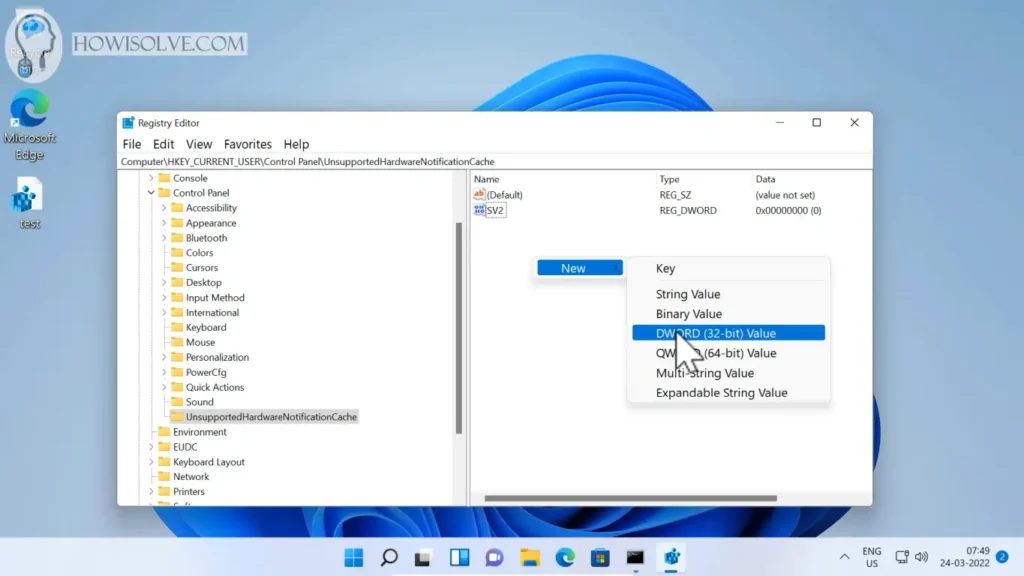
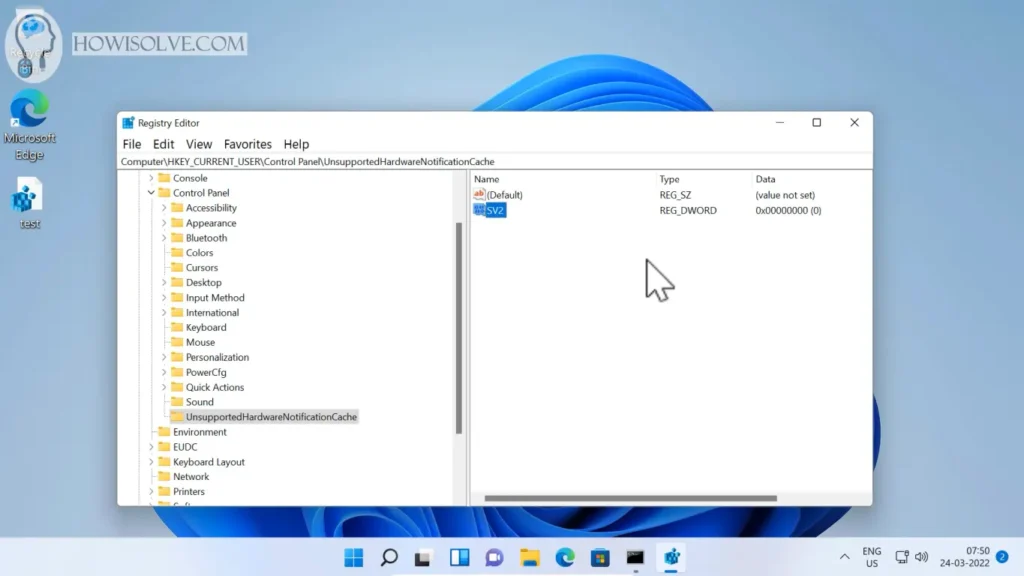
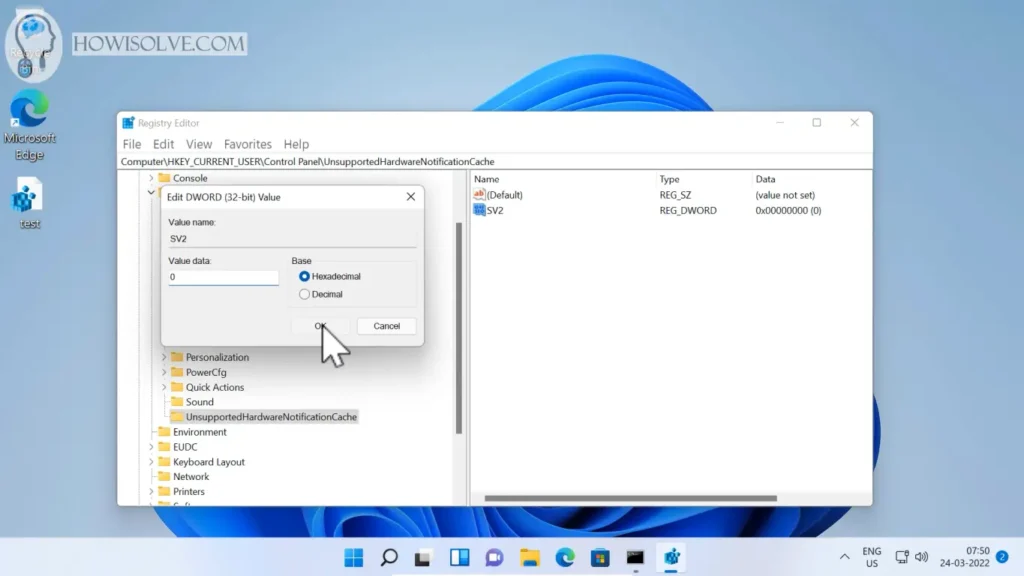
- Add the registry key UnsupportedHardwareNotificationCache.
- In HKEY_CURRENT_USER\Control Panel\ if not present already.
- Change or add the value of SV1 to 0.
- Change or add the value of SV2 to 0.
- Restart the computer and the watermark should disappear.
I Hope, friends you liked this detailed step-by-step guide on removing the watermark. If you have some questions or are facing some issues. Post them down in the comment section will be glad to help you.
That’s all for today friends Subscribe to our YouTube channel to get more such videos in the future. Subscribe to our newsletters to get email alerts when we release new content. That is it for now friends, see you later bye.


