by
by Learn how to Bypass the TPM and Secure Boot requirements of windows 11 to install it in a VirtualBox. As always, this will be a beginner-friendly step-by-step video so that anyone can follow it.
▼Type @ Commands▼
REG ADD HKLM\SYSTEM\Setup\Labconfig /v BypassTPMCheck /t REG_DWORD /d 1
REG ADD HKLM\SYSTEM\Setup\Labconfig /v BypassSecureBootCheck /t REG_DWORD /d 1
▼Download @ Links▼
▼Scan @ Video Index▼
- 00:00 Intro
- 01:07 Enable Virtualization in BIOS
- 02:27 Download Virtual Box
- 04:06 Download Windows 11 ISO File
- 05:23 Install Virtual Box
- 07:08 Create Virtual Machine for Windows 11
- 11:09 Boot Windows 11 ISO in Virtual Machine
- 13:21 Bypass TPM and Secure Boot Requirement
- 16:18 Install Windows 11 in Virtual Machine
- 17:54 Configure Windows 11 on First Run
- 19:54 Install Virtual Box Guest Additions
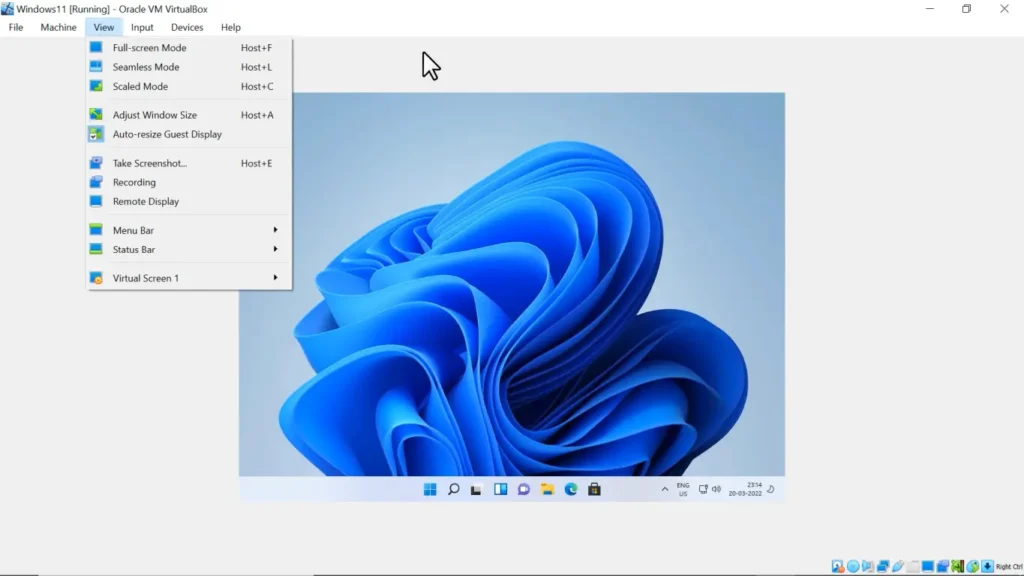
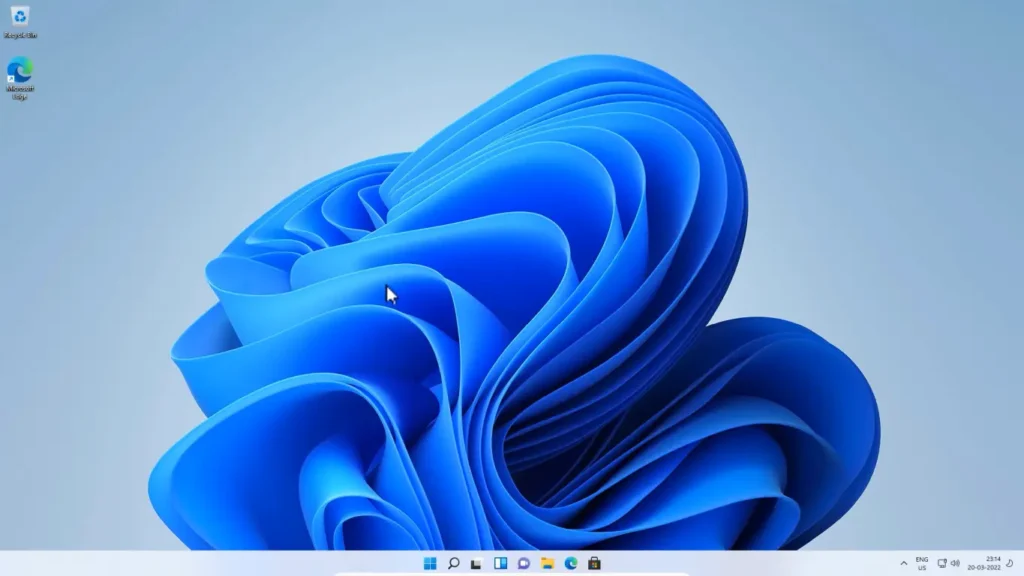
- 21:04 Run Windows 11 in Fullscreen Mode
1. Enable Virtualization in BIOS
To run VirtualBox in your computer your BIOS should support virtualization and it should be enabled in the BIOS settings. Depending upon the computer CPU manufacturer this setting can be named Intel-V and AMD-V in the BIOS. Every BIOS manufacturer has a different interface for changing the setting. You can google search “How to enable virtualization in (your bios manufacture or laptop model name) BIOS”. This will provide you with video guides to enable this feature in your particular system.
2. Download Virtual Box
Get the VirtualBox setup file from the VirtualBox Download Page. You will also find the link to download the VirtualBox Extention pack on the same page.
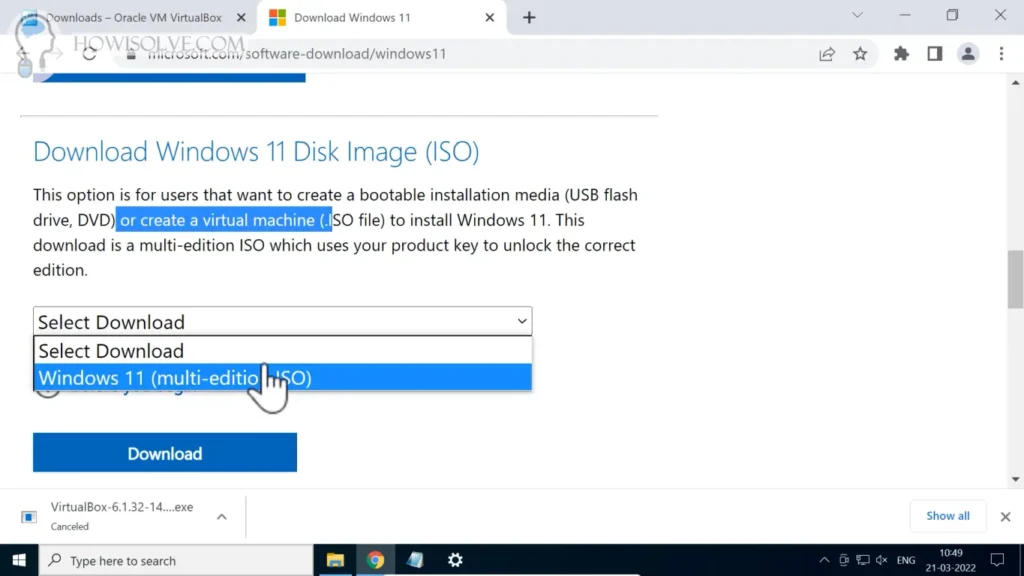
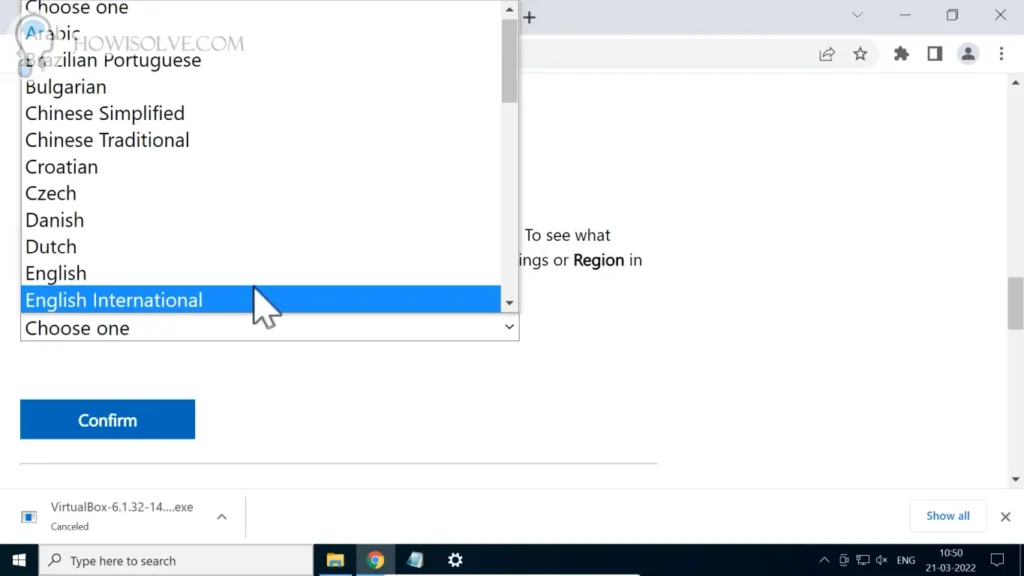
3. Download Windows 11 ISO File
Get the Windows 11 ISO file from the Windows 11 Download Page.
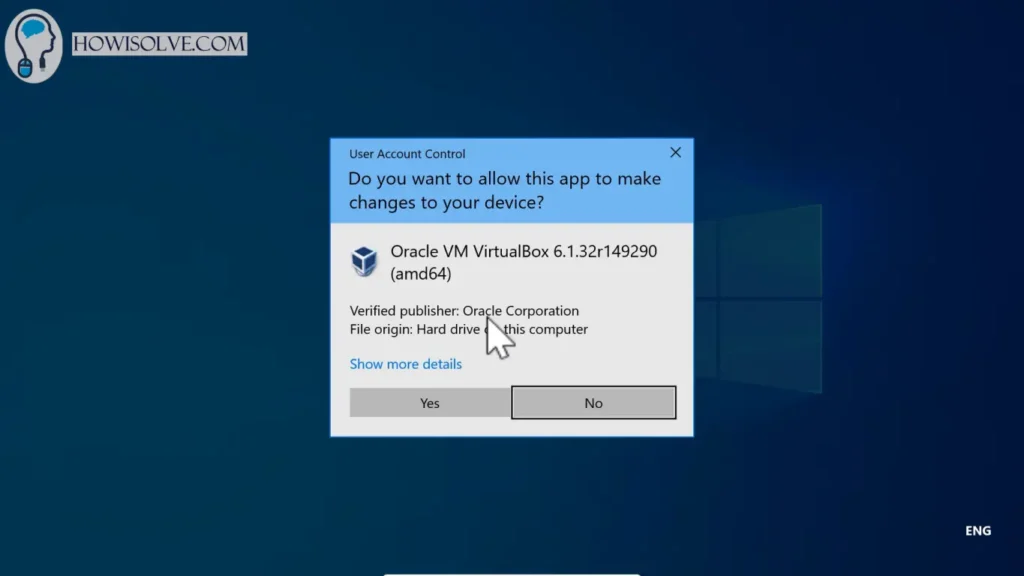
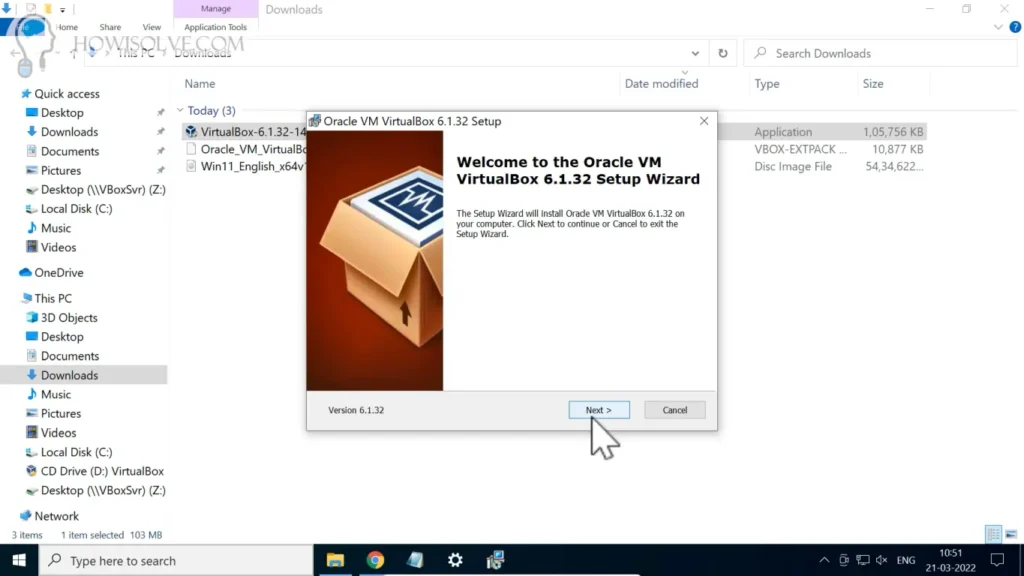
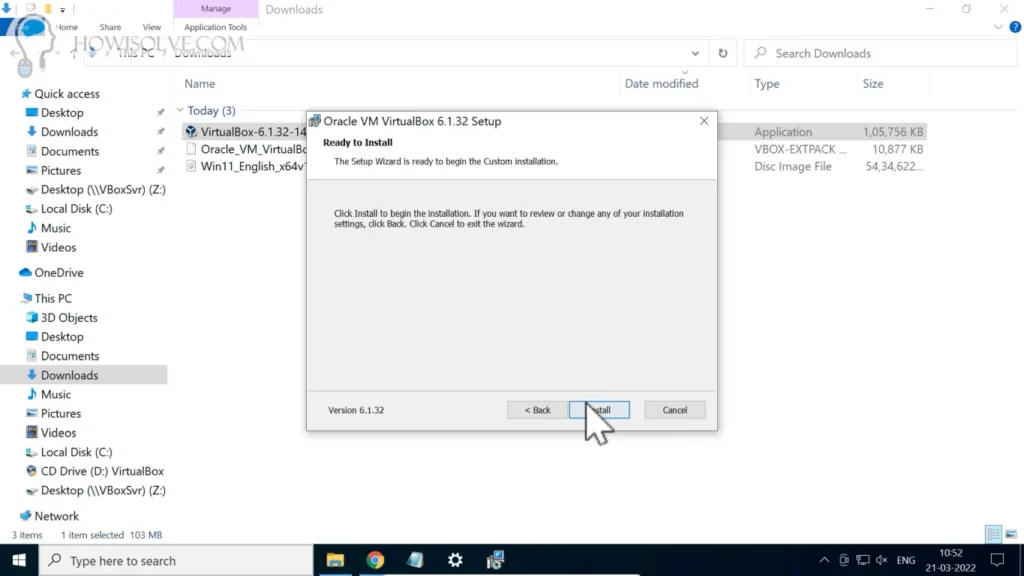
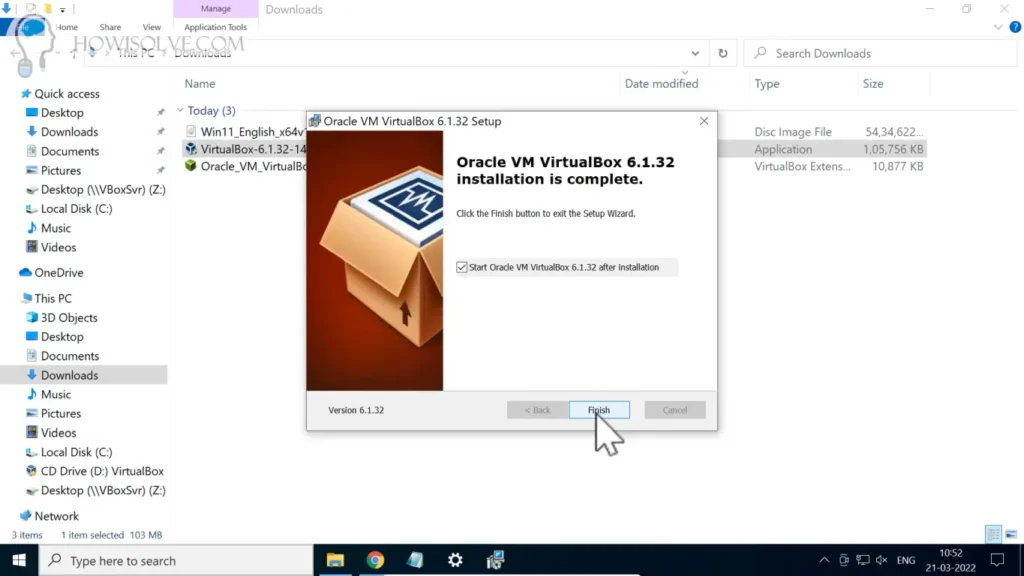
4. Install Virtual Box
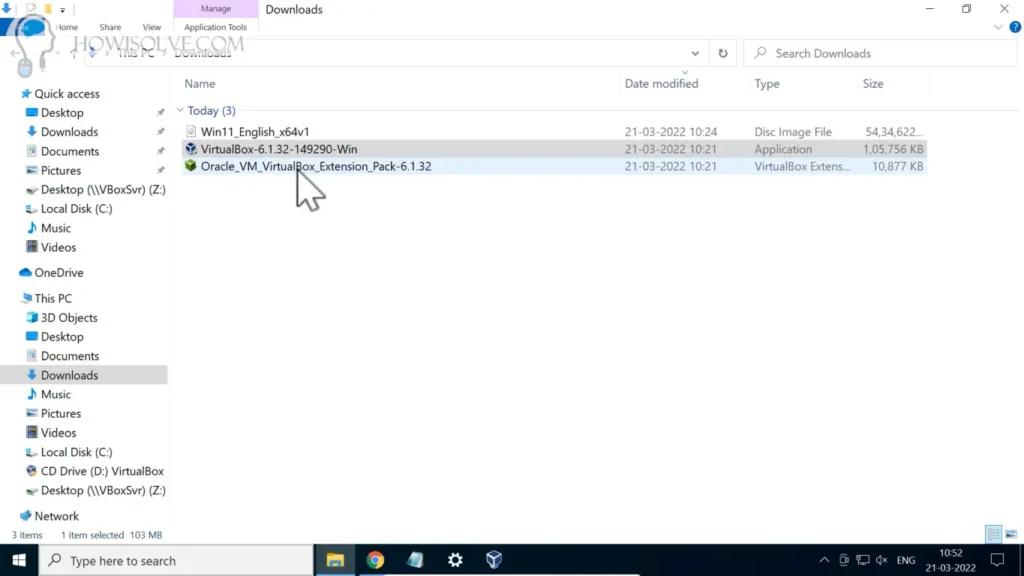
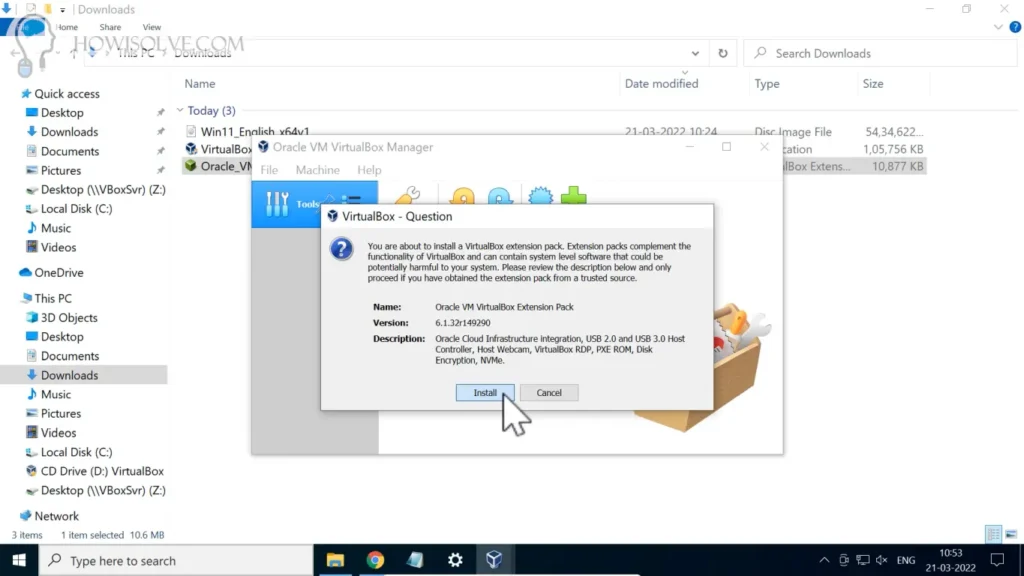
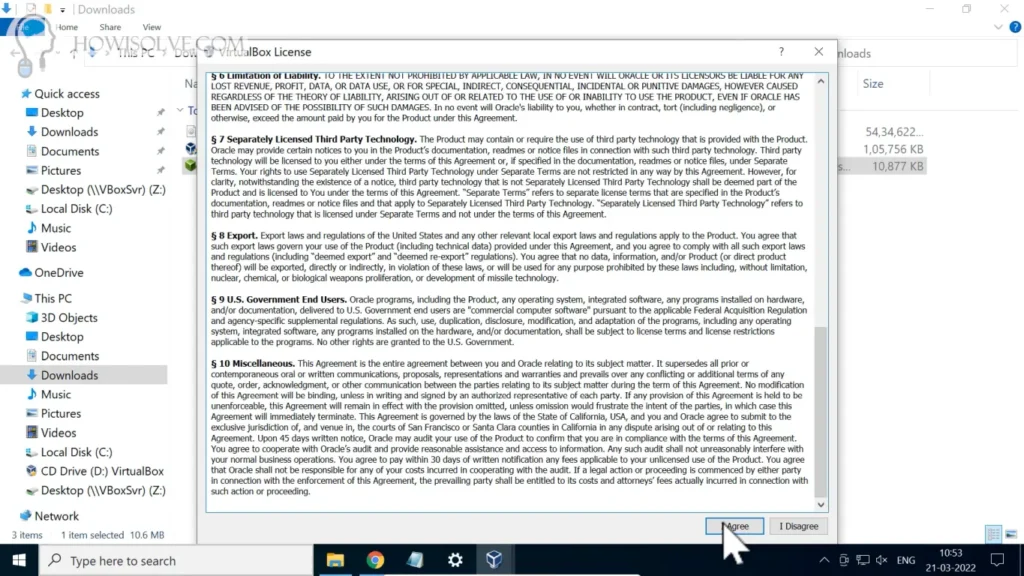
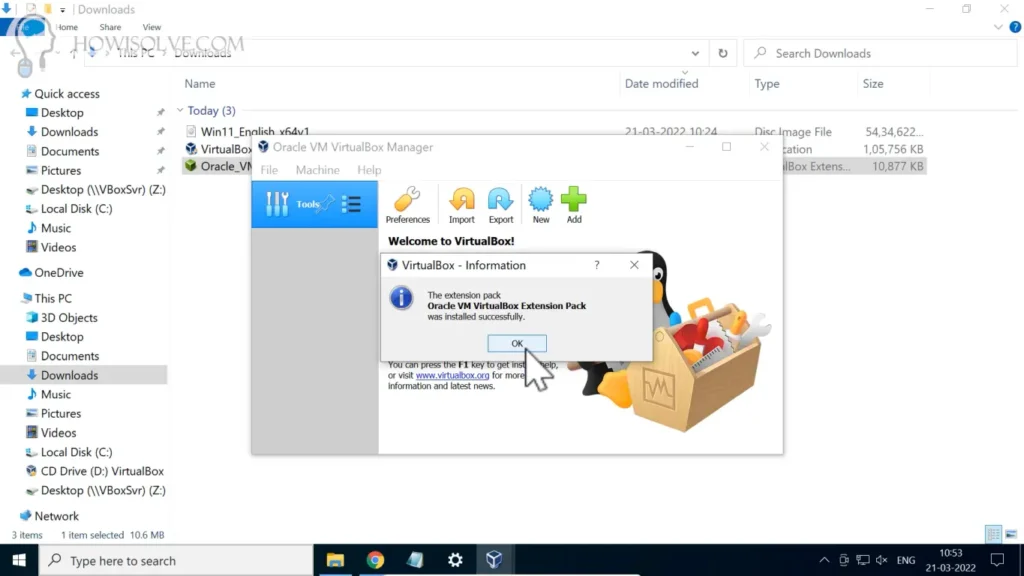
5. Install VirtualBox Extention Pack
The VirtualBox Extension Pack adds more features to your virtual machine like the full support of USB 3.0 and USB 2.0 devices. Using it you can then connect a USB device to your virtual machine. Make sure to install the same version of the extension pack as that of the virtual box. Installing different versions will cause errors while turning on the virtual machine.
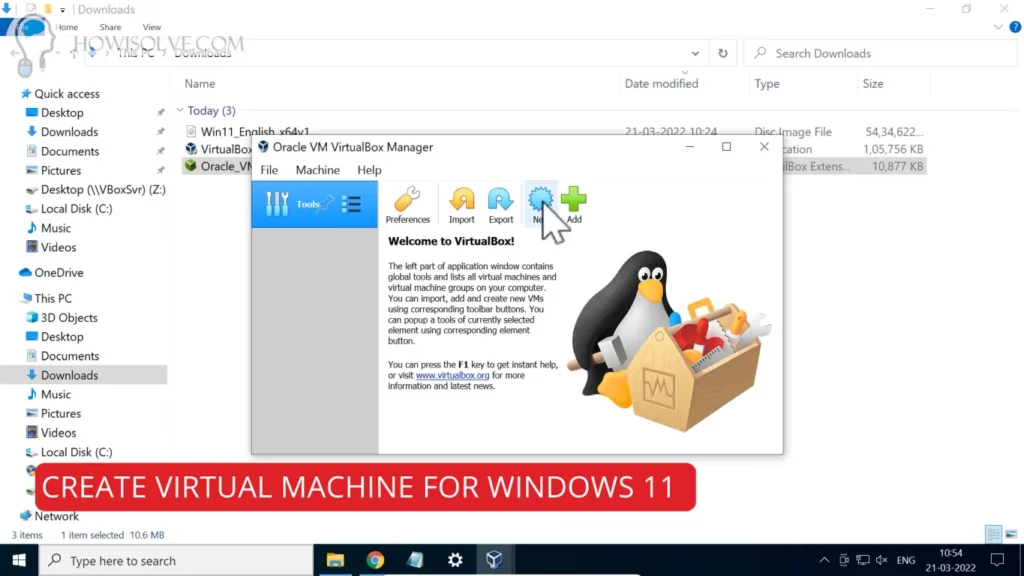
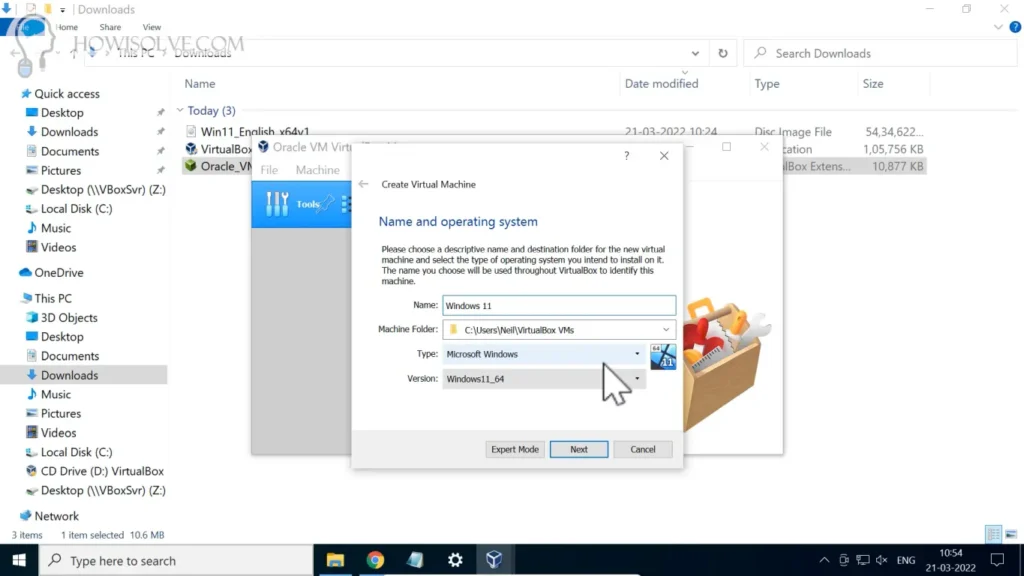
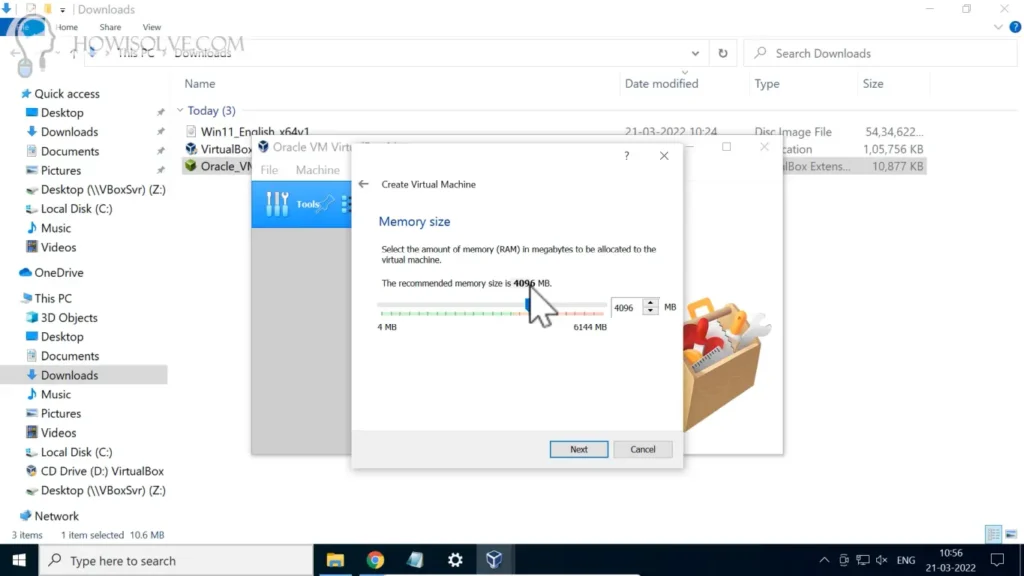
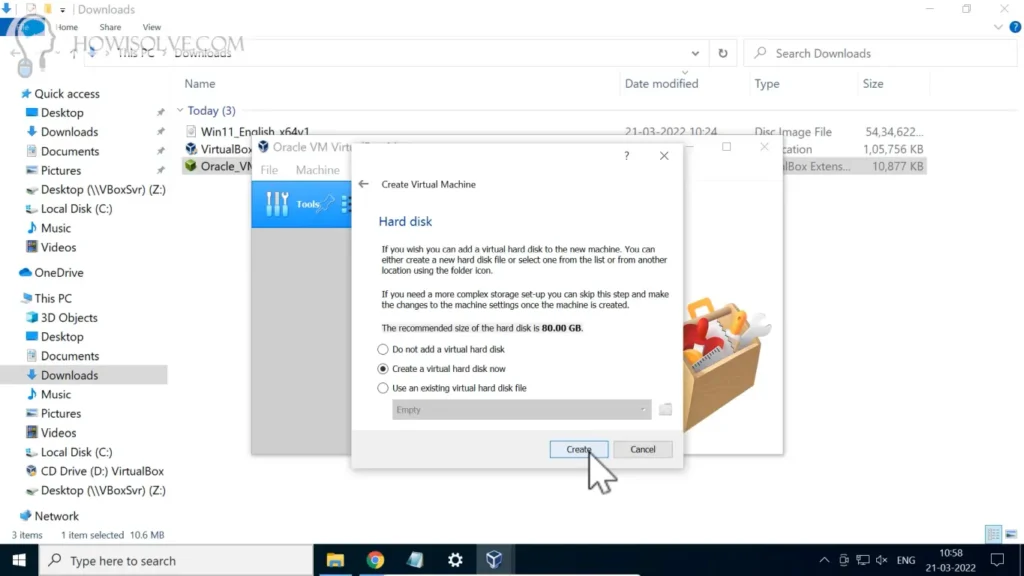
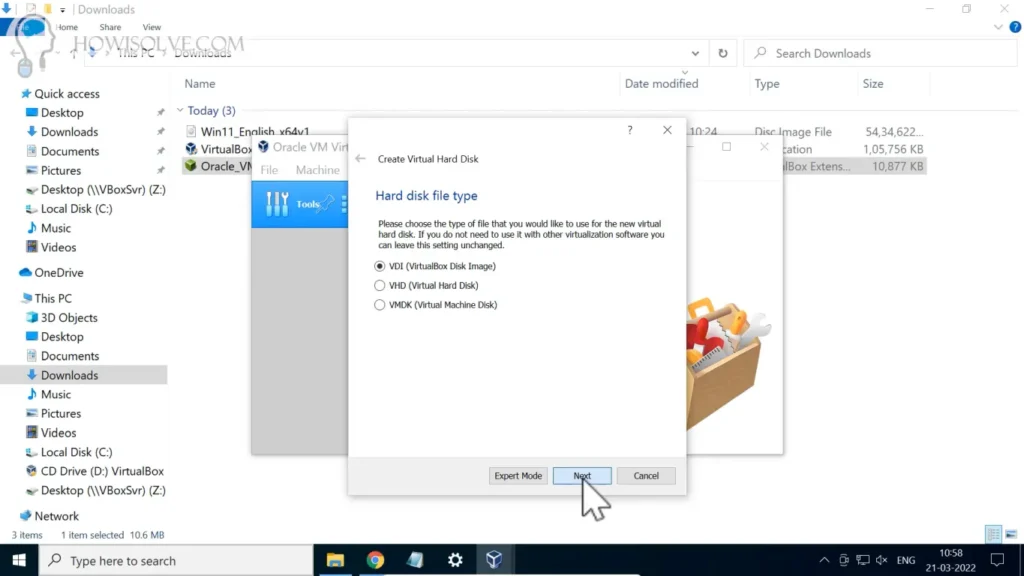
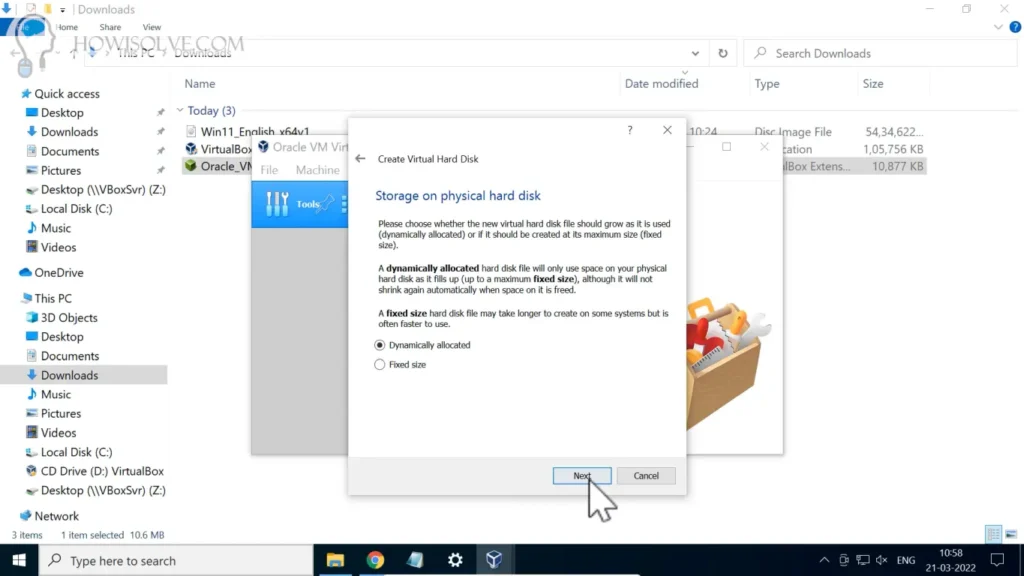
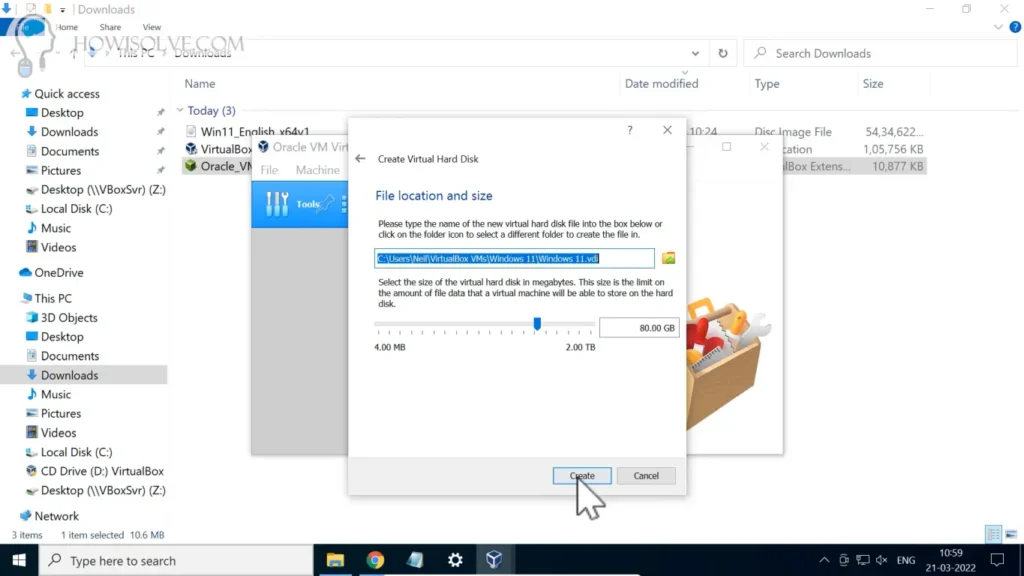
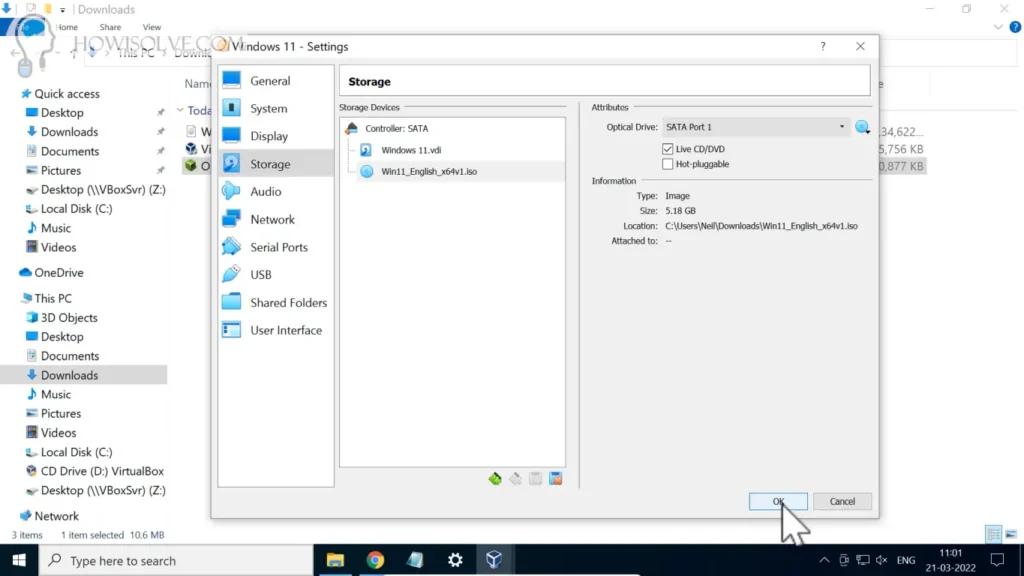
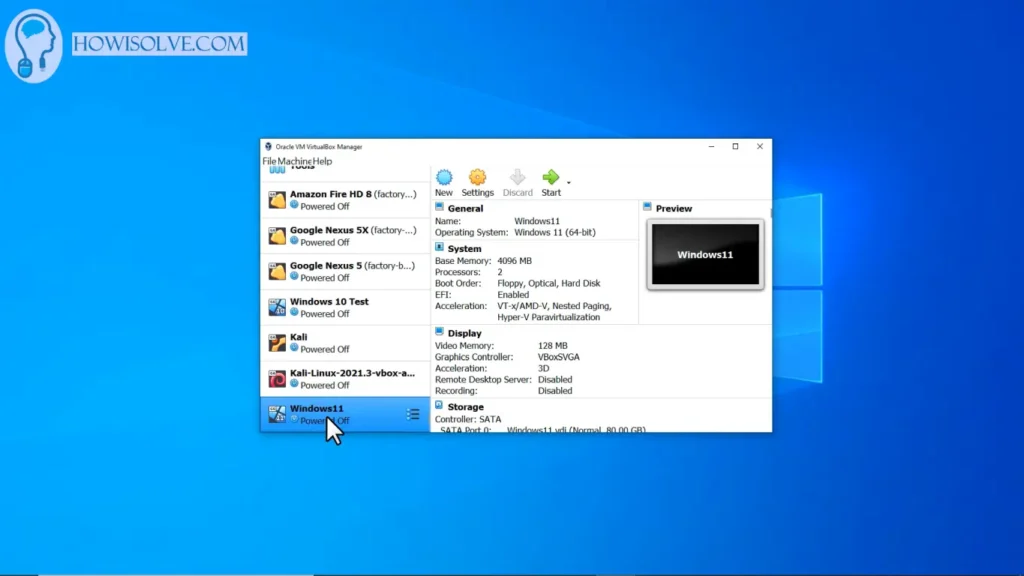
6. Create Virtual Machine for Windows 11

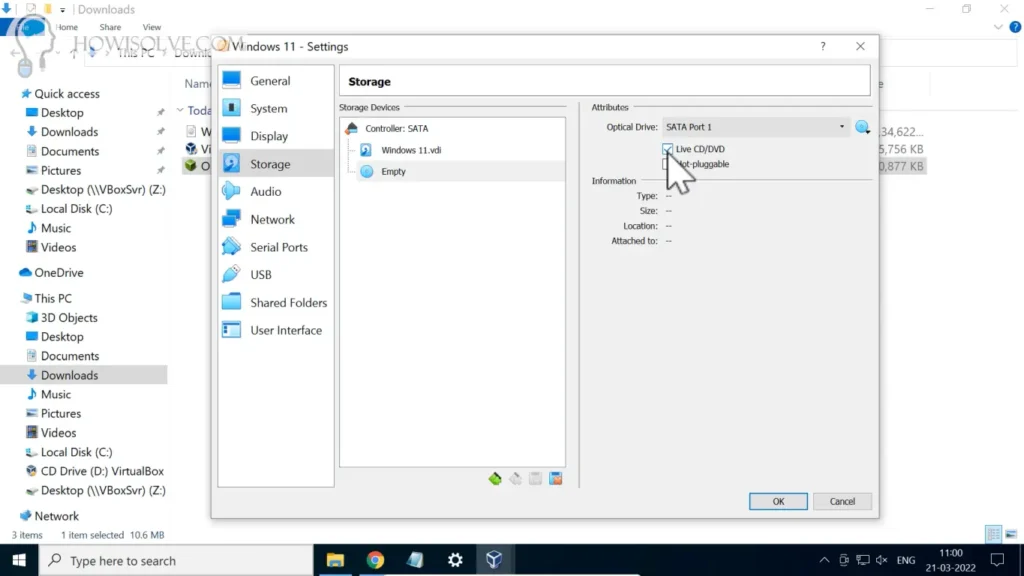
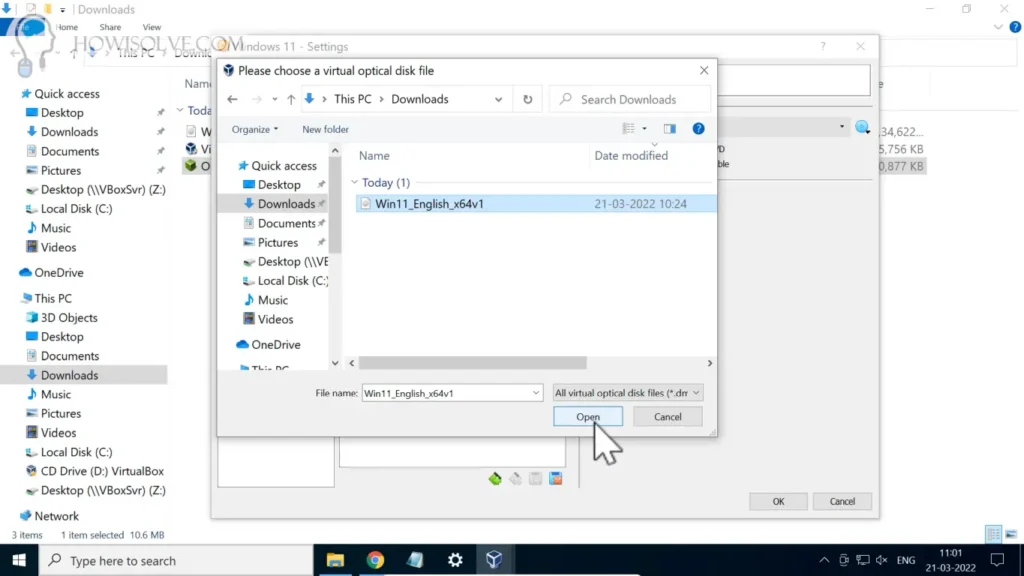
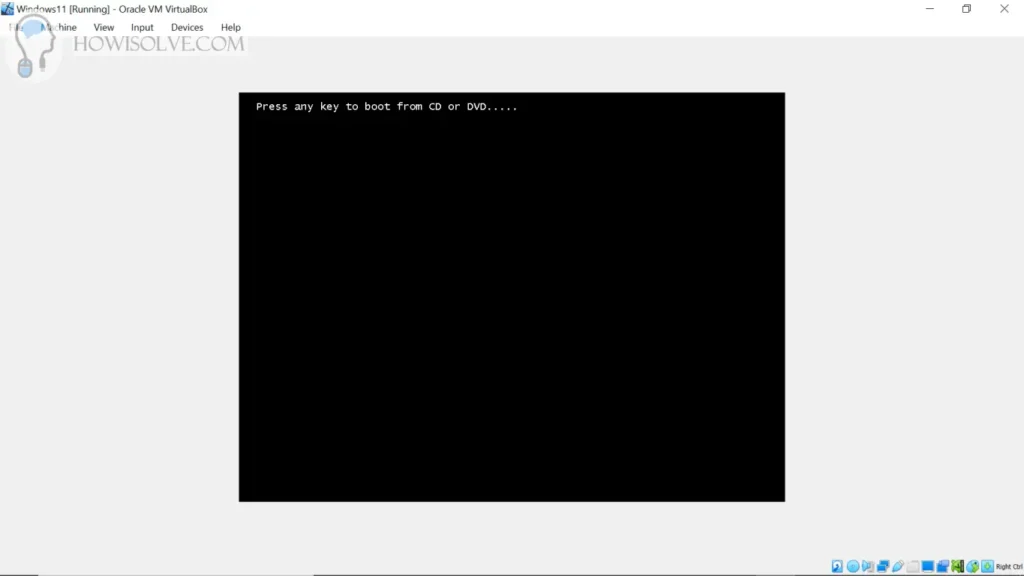
7. Boot Windows 11 ISO in Virtual Machine
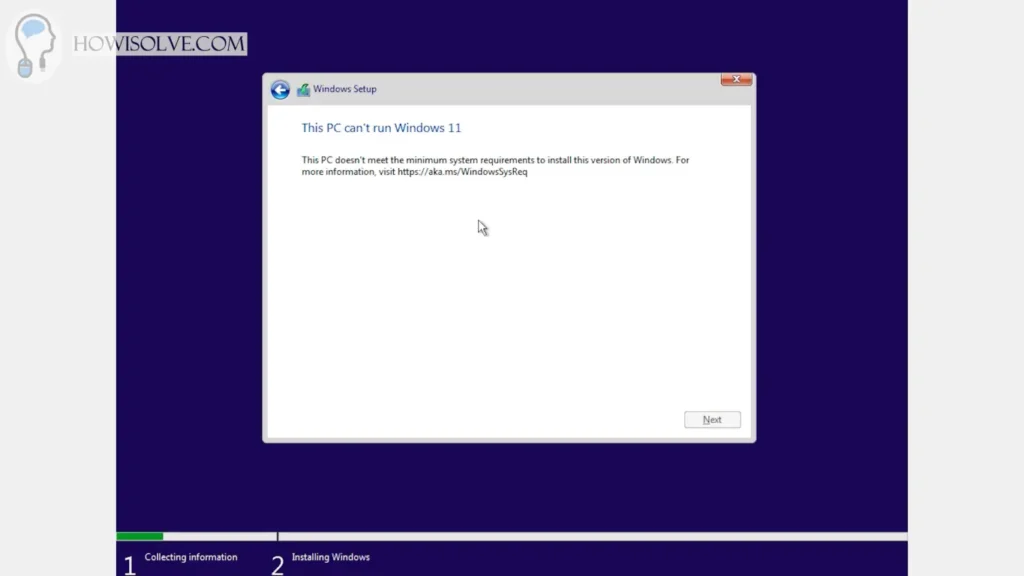
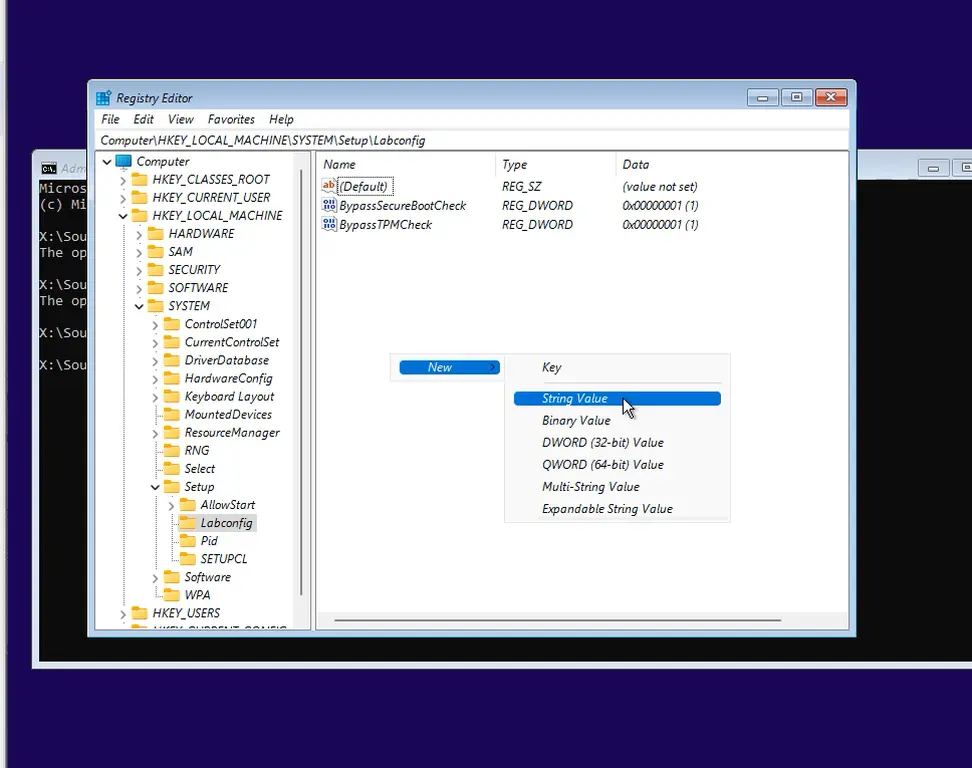
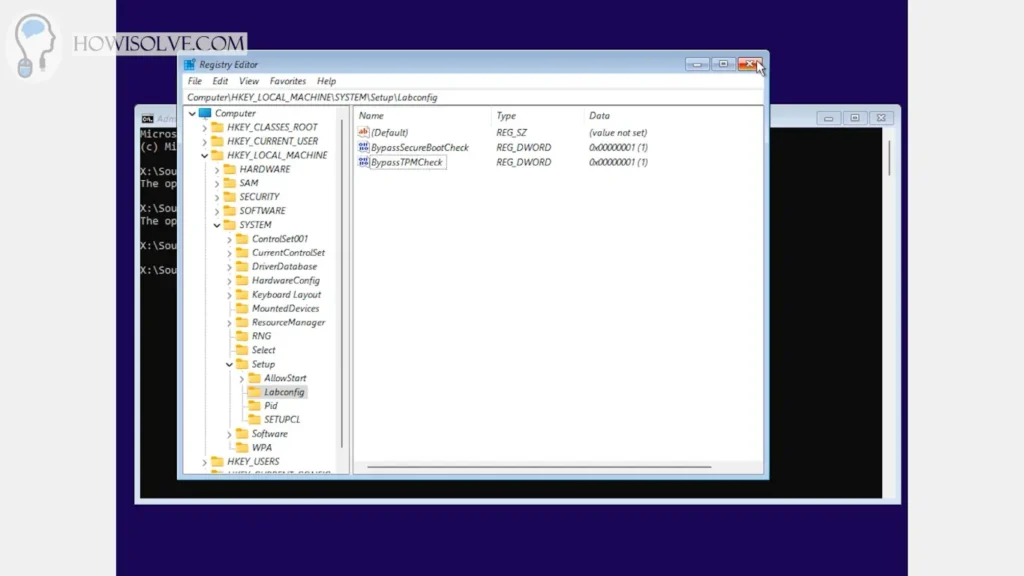
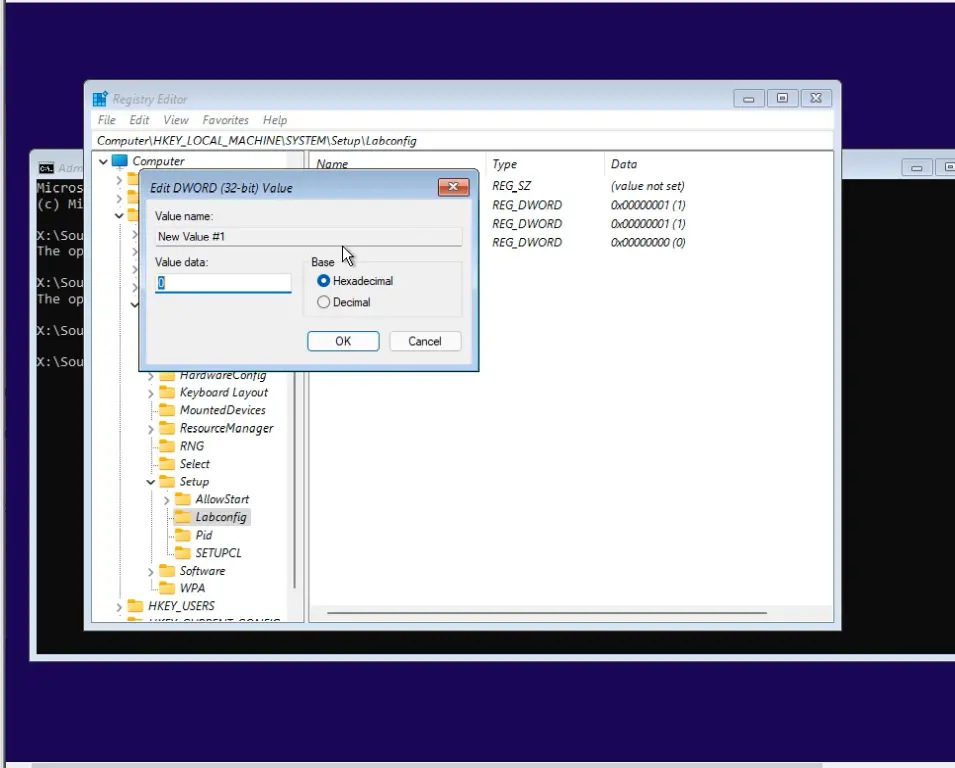
8. Bypass TPM and Secure Boot Requirement
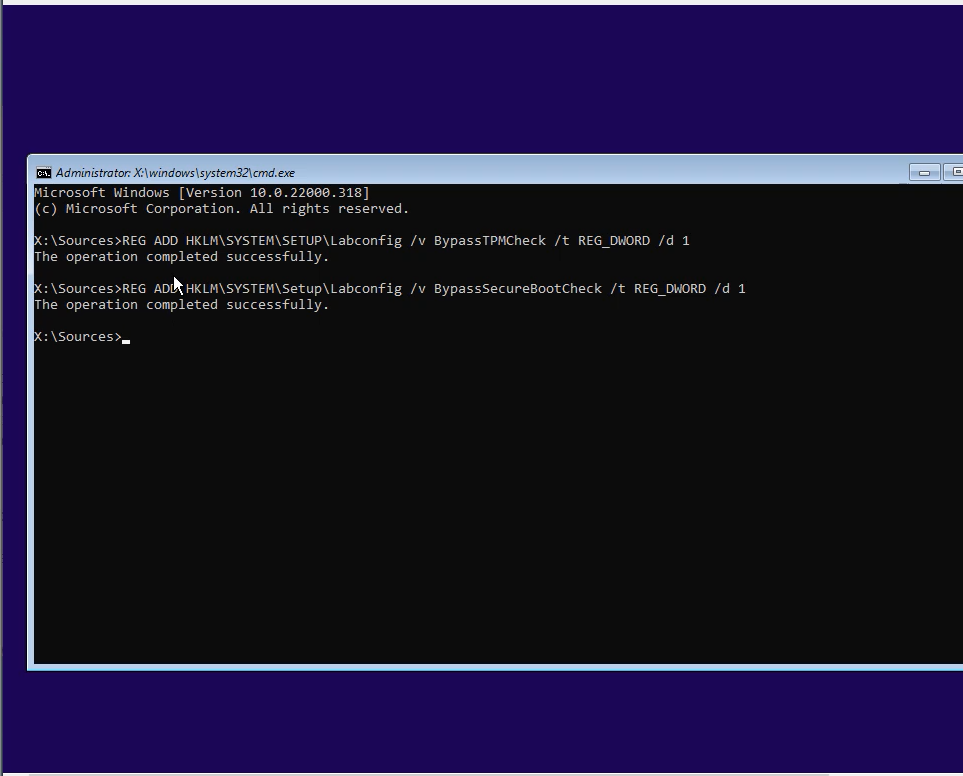
To install Windows 11 your system needs to have TPM and Secure Boot supported by your BIOS and turned on. But VirtualBox does not support these features but fortunately, there is a way to bypass these requirements. You need to create windows registry keys to bypass them. This can be created using the administrative command prompt opened by pressing Ctrl + F9. Type the commands
REG ADD HKLM\SYSTEM\Setup\Labconfig /v BypassTPMCheck /t REG_DWORD /d 1
REG ADD HKLM\SYSTEM\Setup\Labconfig /v BypassSecureBootCheck /t REG_DWORD /d 1
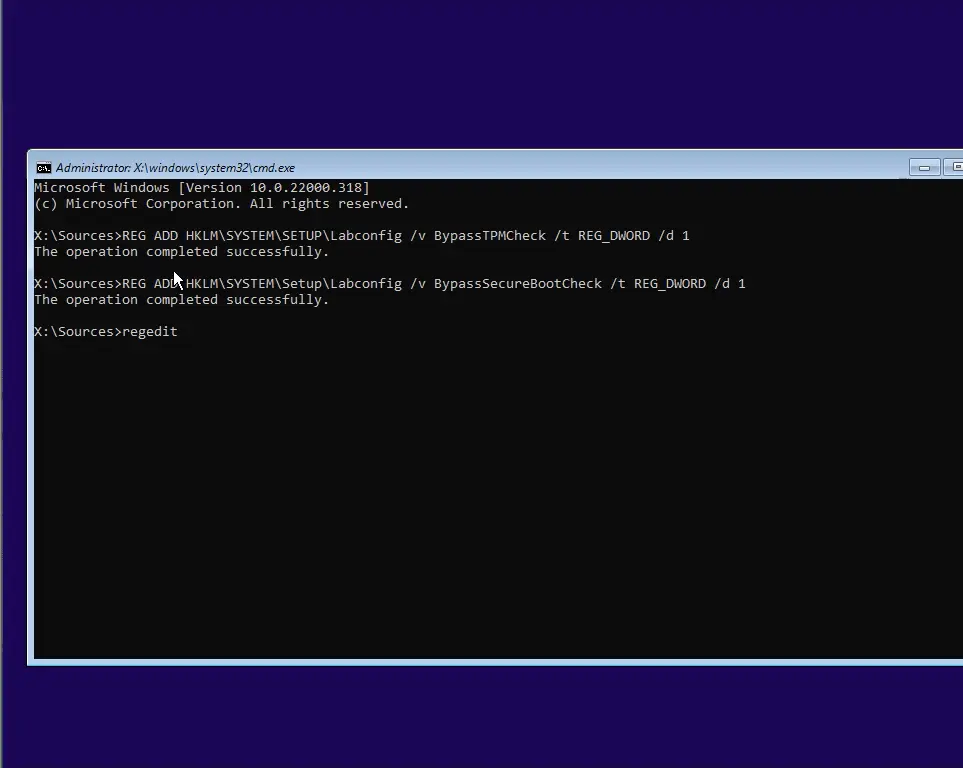
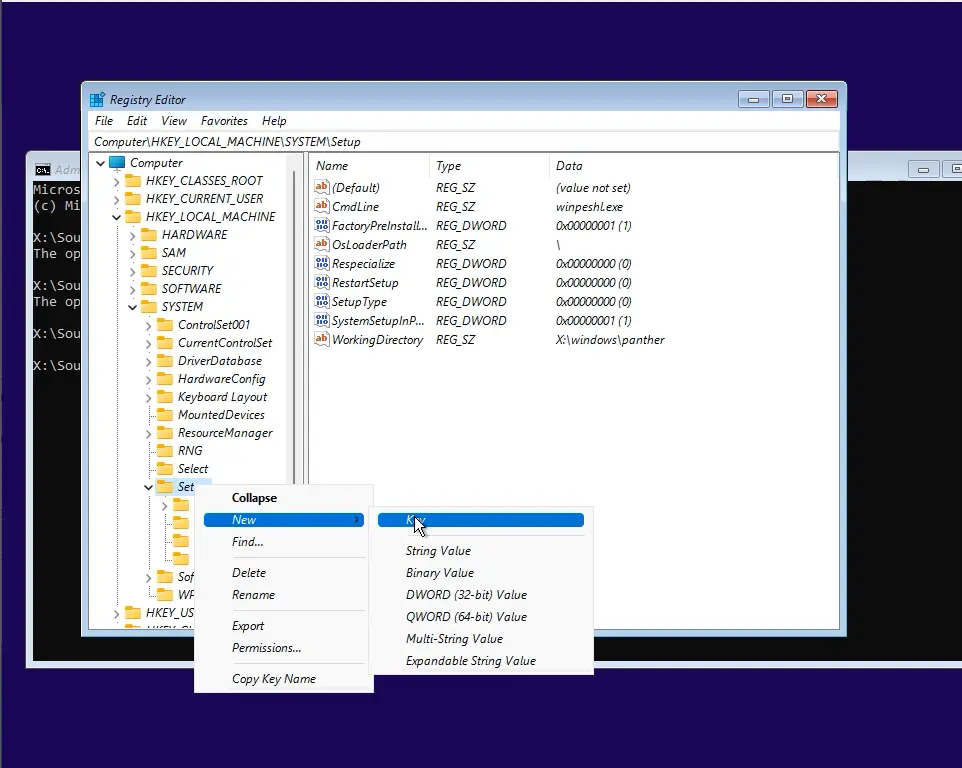
You can also create it by using the Regedit GUI following the steps mentioned below.

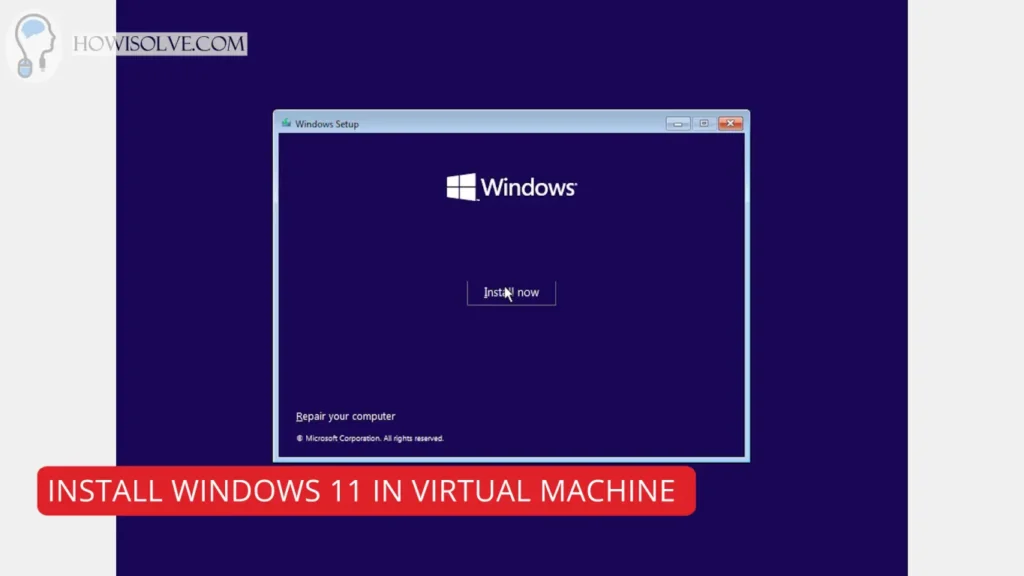
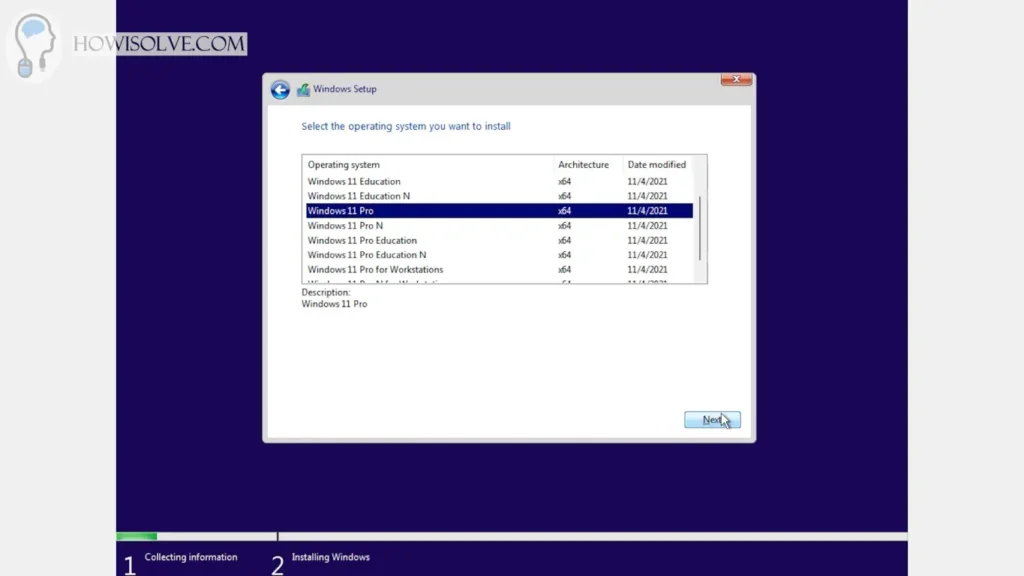
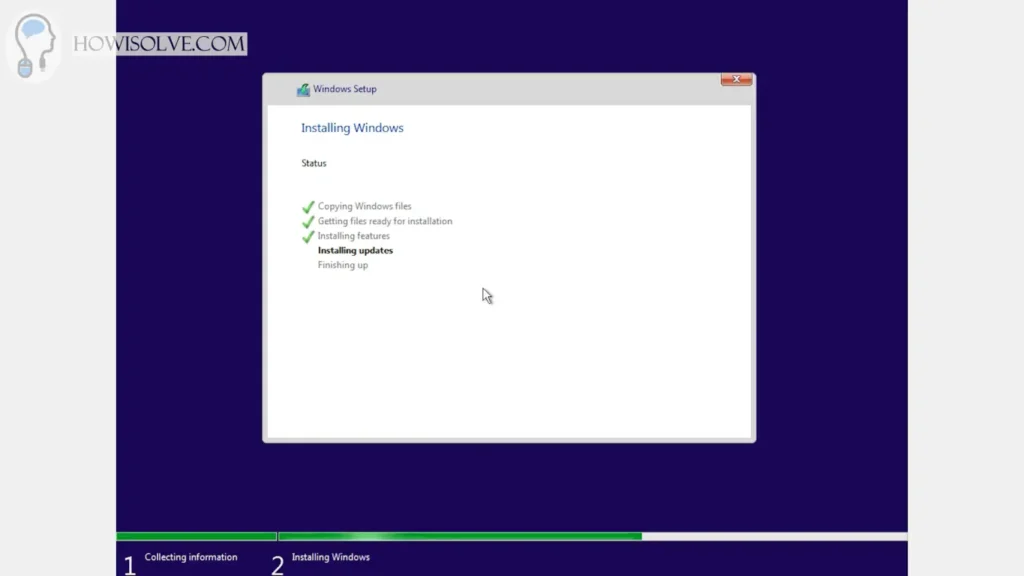
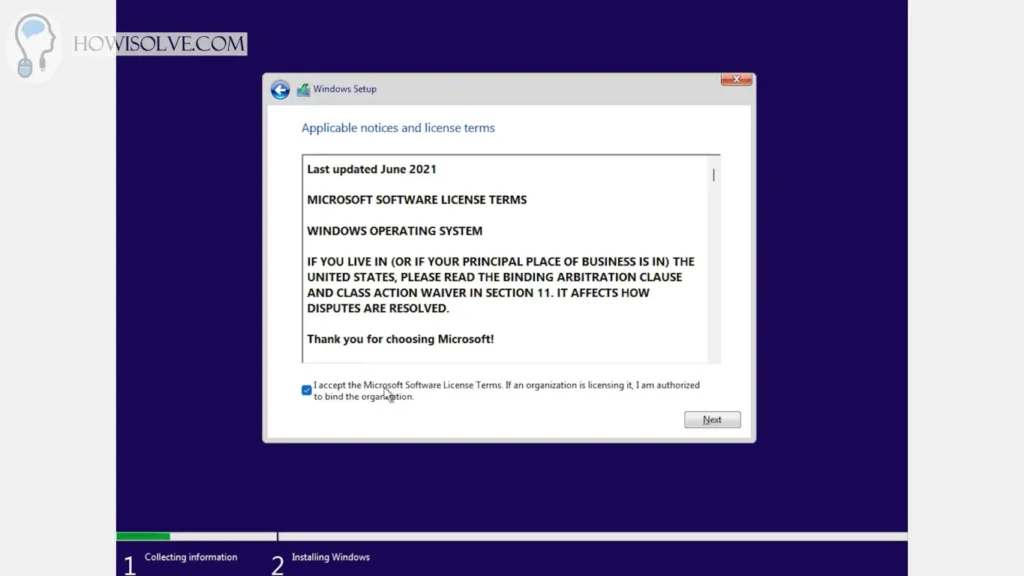
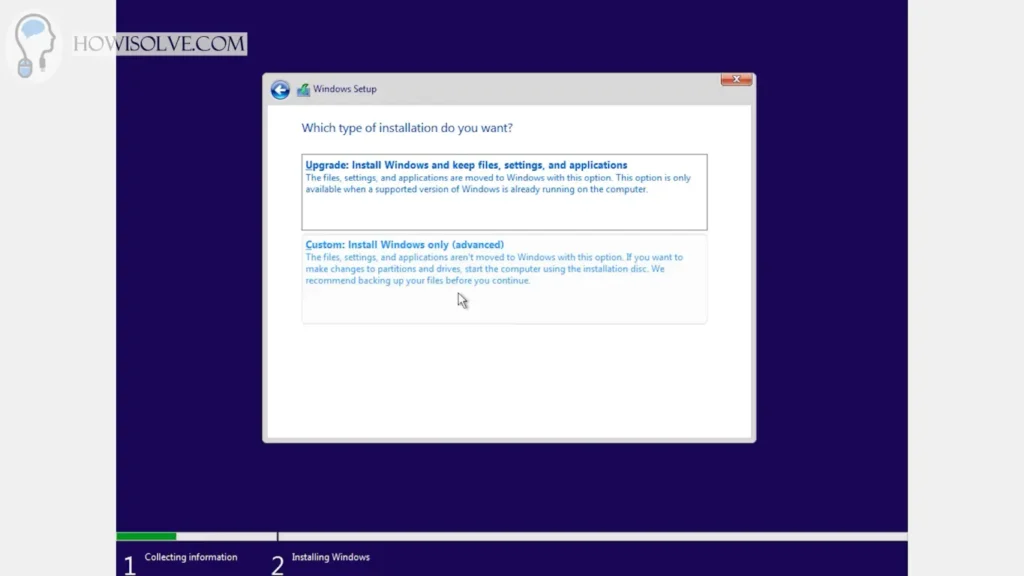
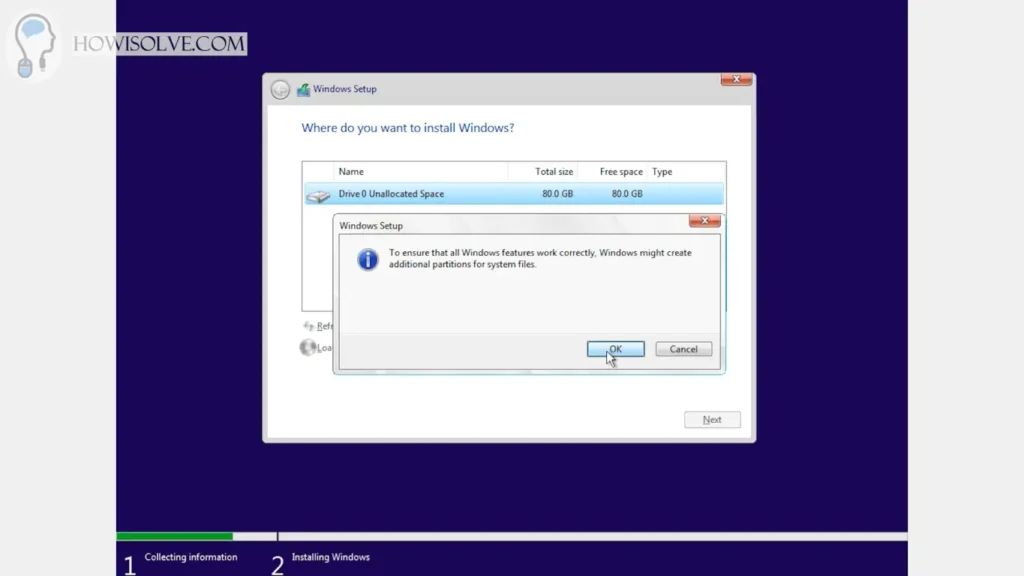
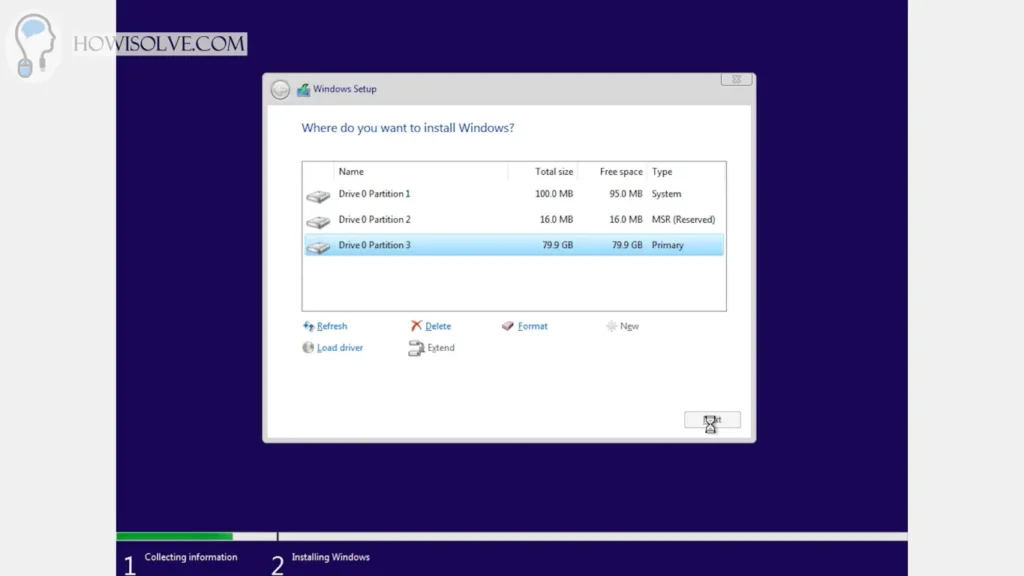
9. Install Windows 11 in Virtual Machine


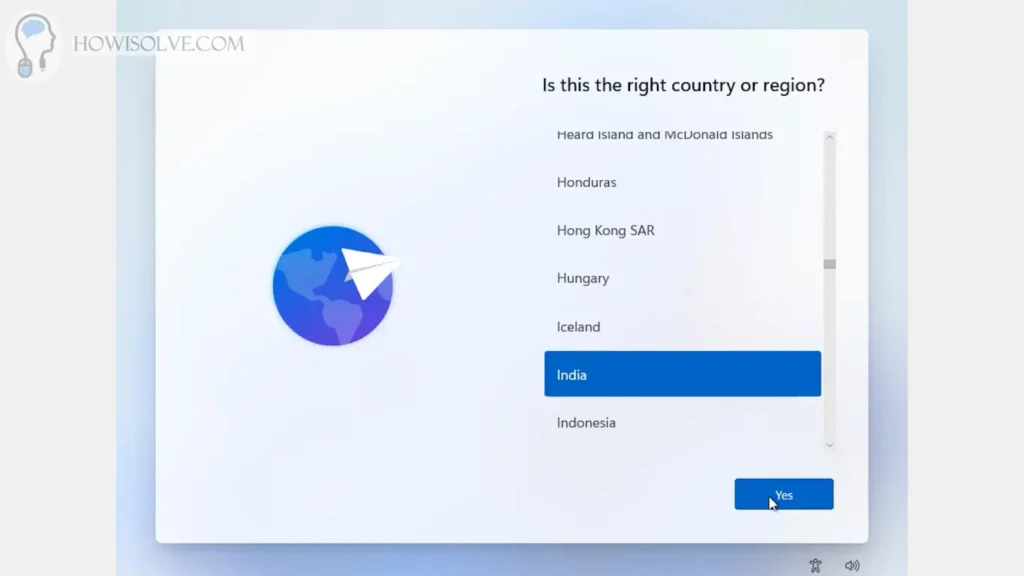
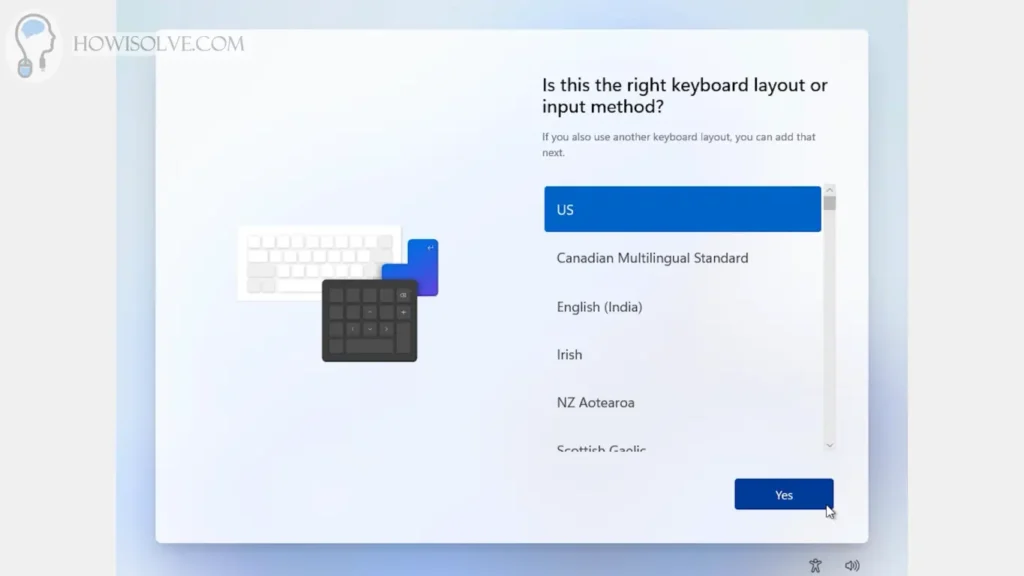
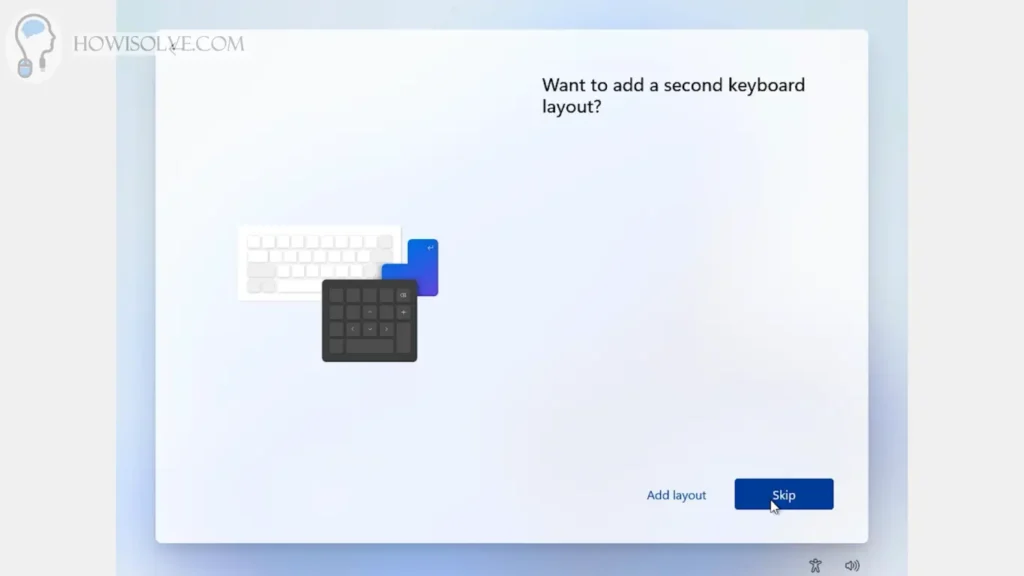
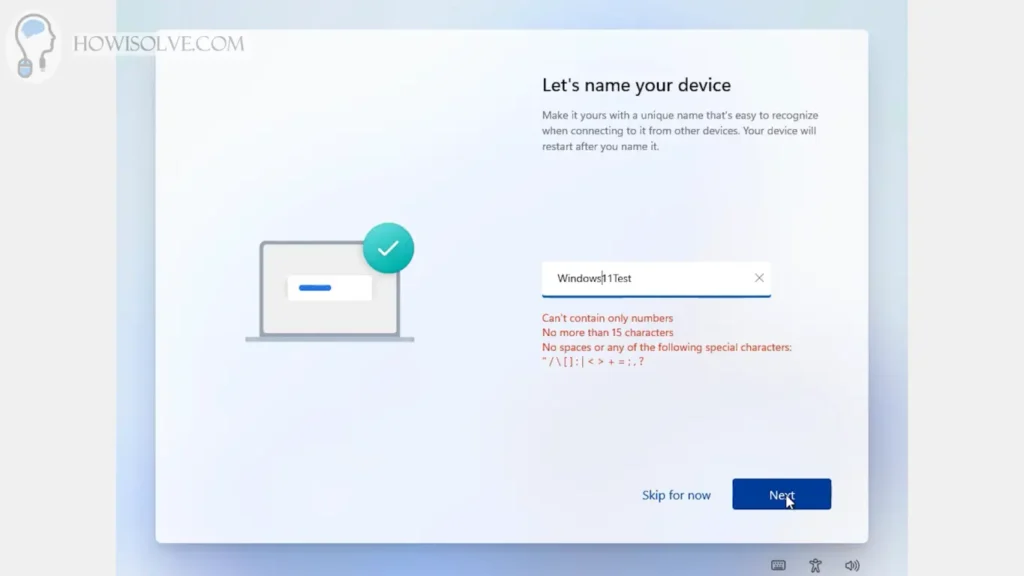
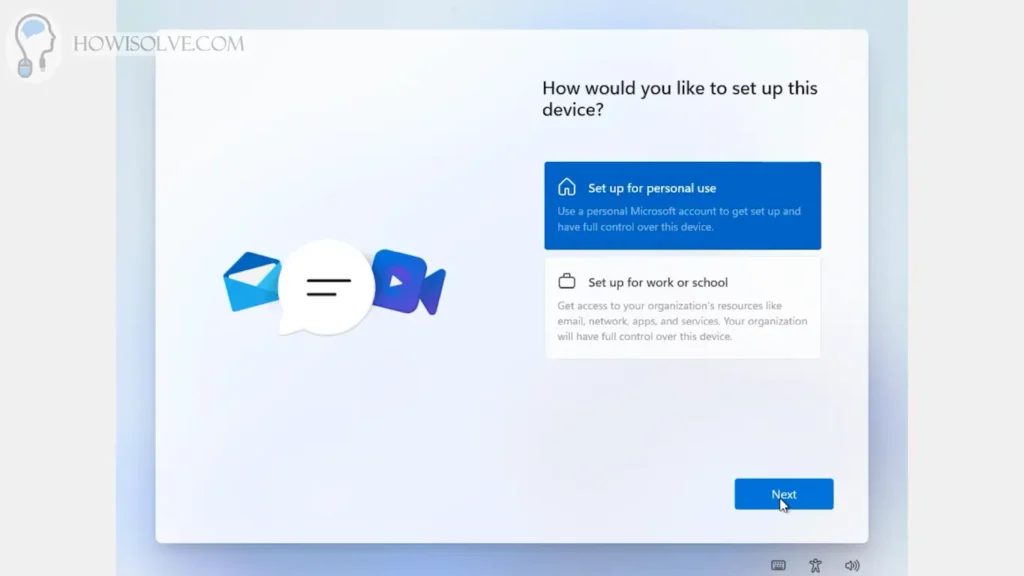
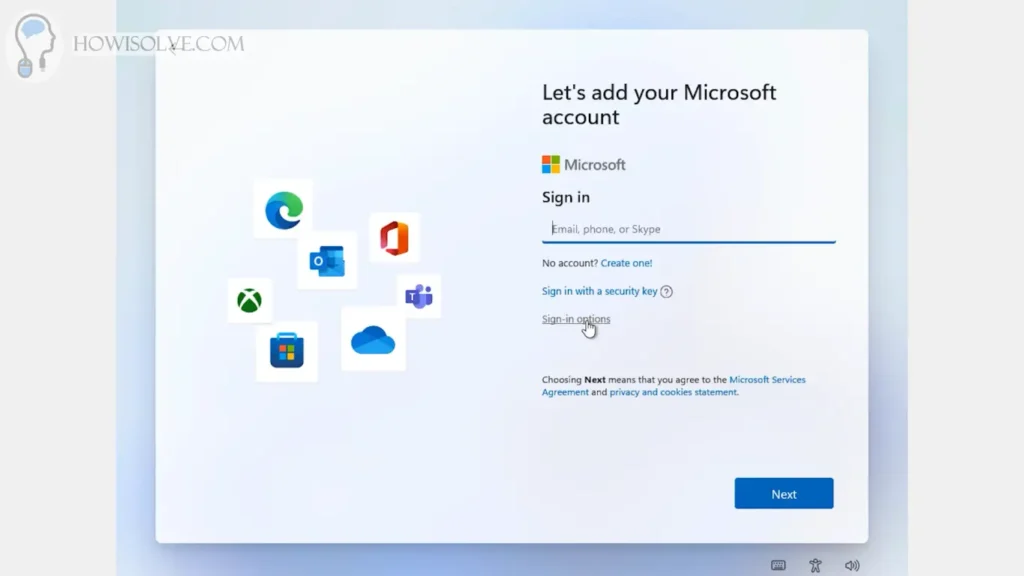
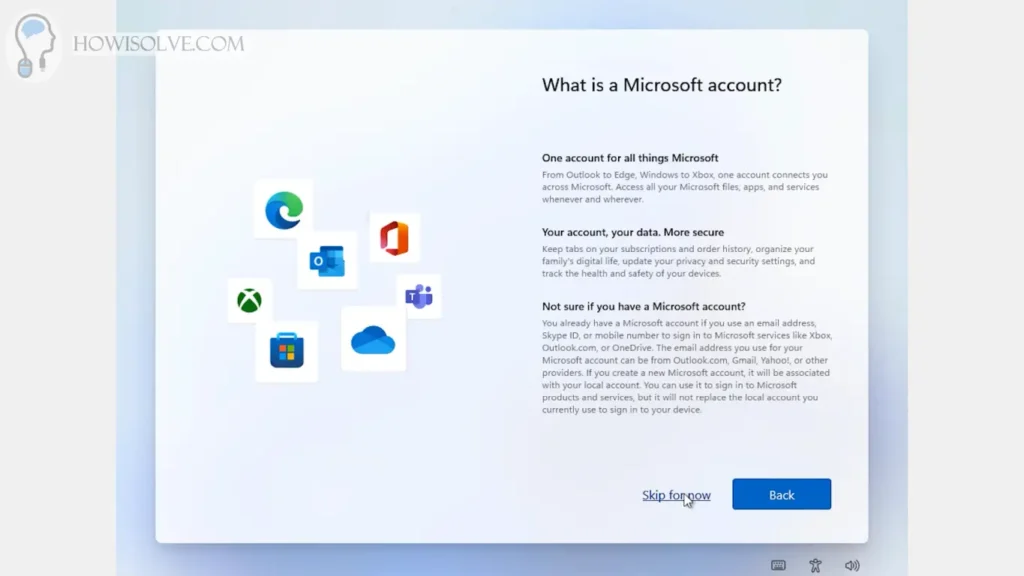
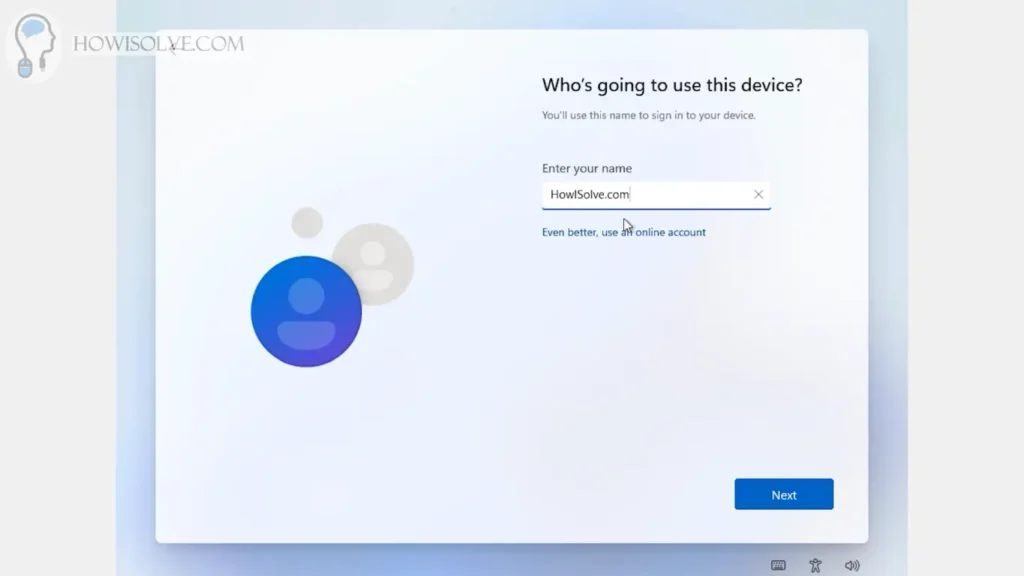
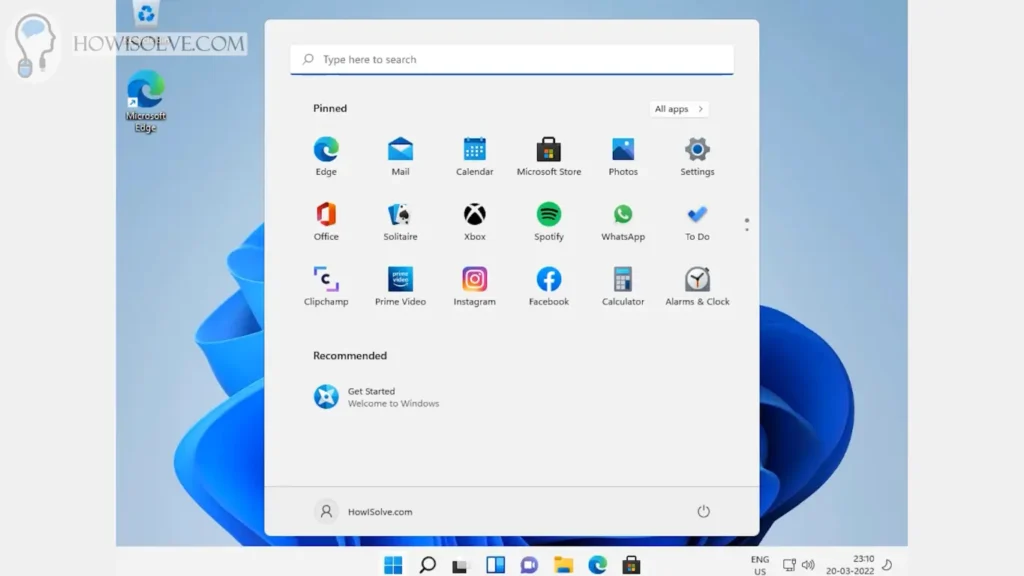
10. Configure Windows 11 on First Run

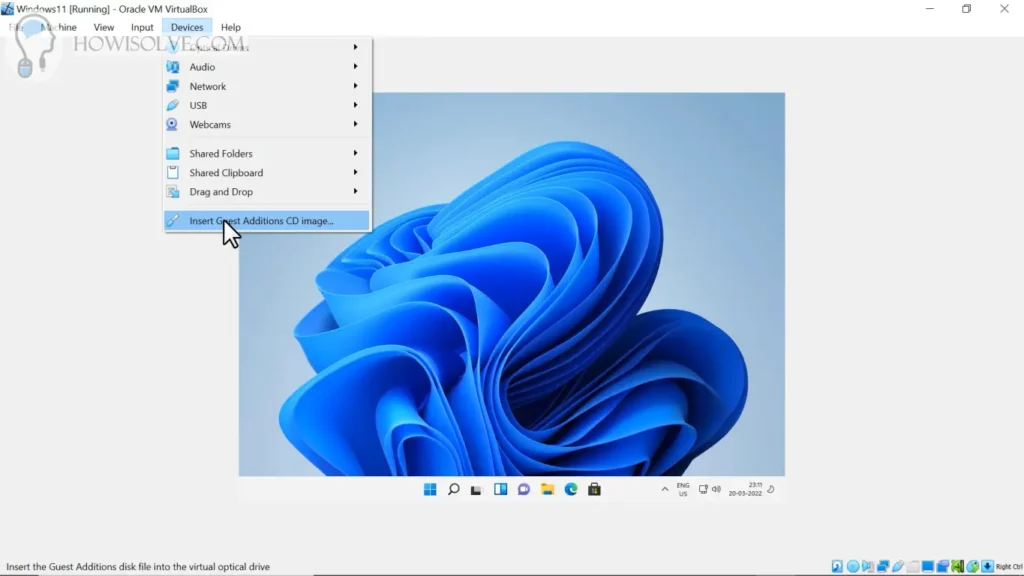
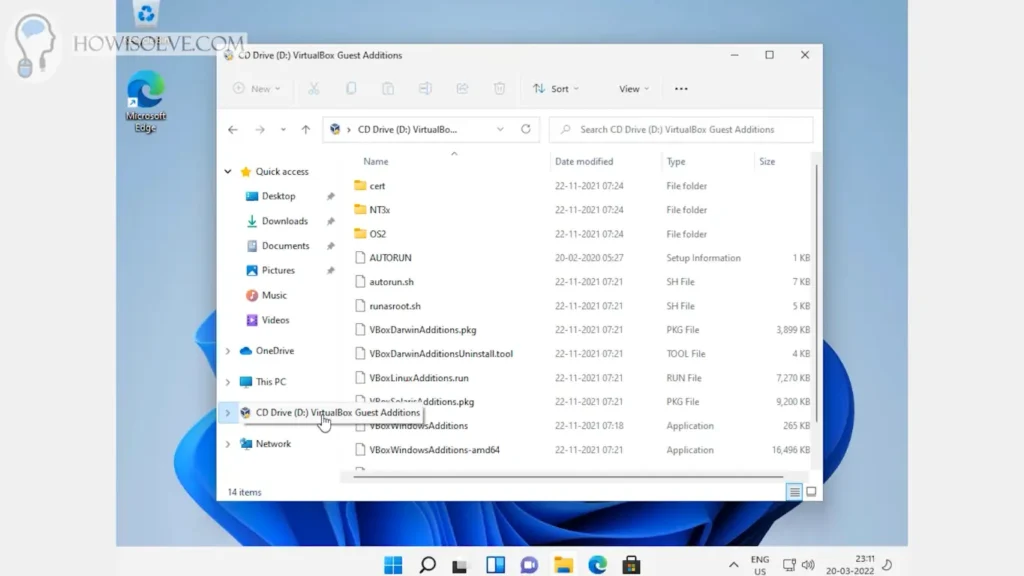
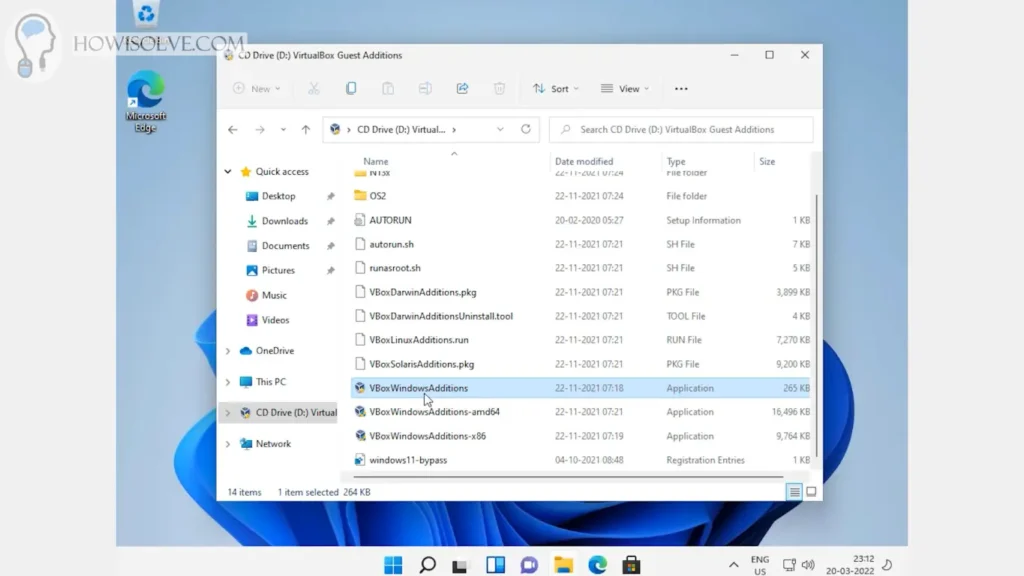
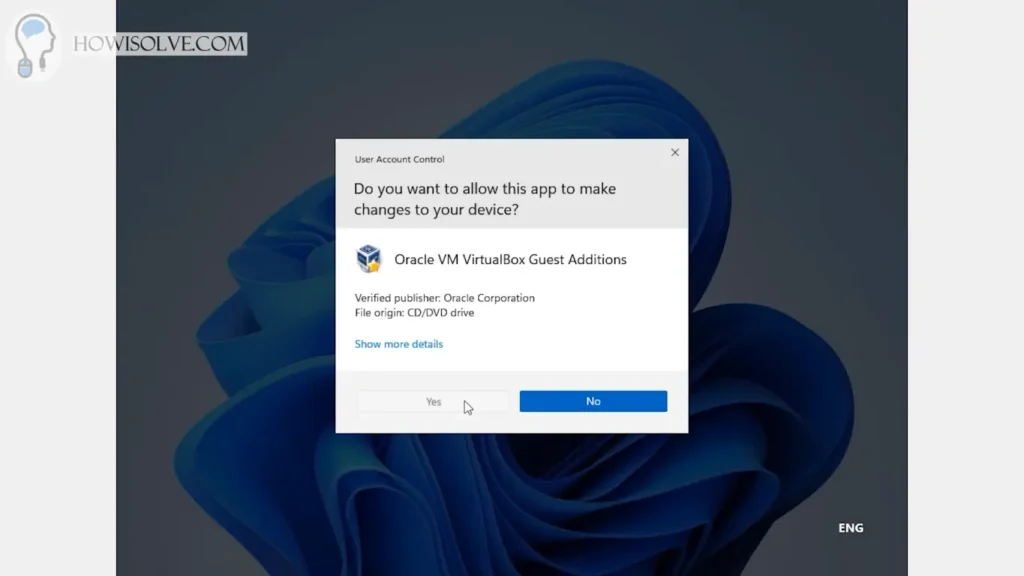
11. Install Virtual Box Guest Additions

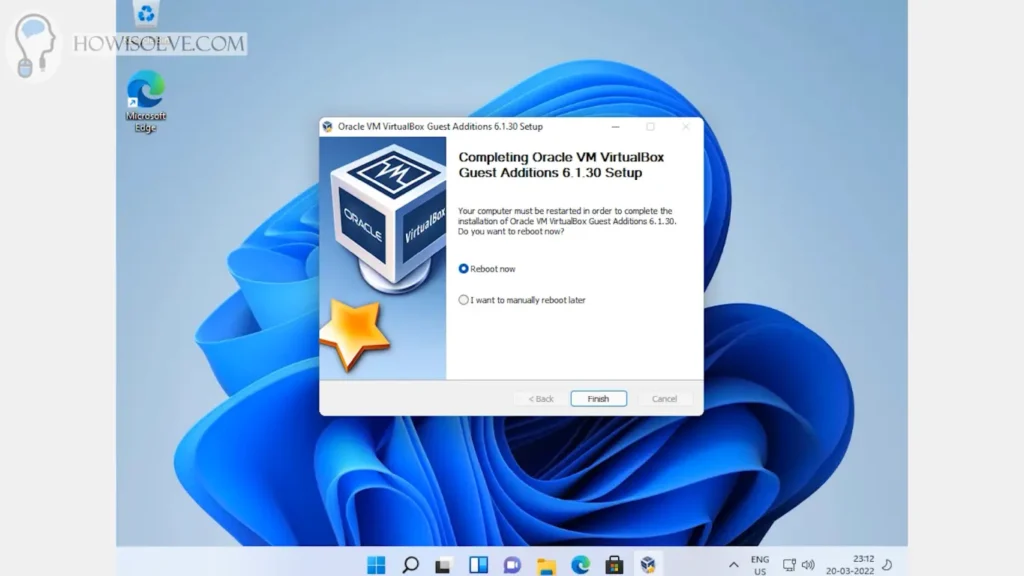
12. Run Windows 11 in Fullscreen Mode

I Hope, friends you liked this detailed step-by-step guide on installing Windows 11 in Virtual Box. If you have some questions or are facing some issues you can post them down in the comment section below will be glad to help you.
That’s all for today friends Subscribe to our YouTube channel to get more such videos in the future. You can also Subscribe to our newsletters to get email alerts when we release new content. That is it for now friends, see you later bye.